10 essential Mac trackpad gestures you need to know
Apple has created 15 known gestures for your fingers to use on a Multi-Touch trackpad in order to perform a function. At least a couple of them are undoubtedly already second nature in your daily use, but you may not have had a chance to learn others that might really help you out over time.
If you can remember the following 10 gestures, you’ll take steps toward being more efficient with your trackpad use while reducing strain on your hands. Even if it takes a moment to remember them all, there’s one additional benefit beyond saving time by using gestures. There should also be a reduction in the frequency that an annoying and task-disrupting gesture is used accidentally on the trackpad.
- Time to complete: 10 minutes
Tools required: MacBook trackpad or Magic Trackpad
Tap to click
Apple
Tapping with one finger to click is a logical starting point for teaching someone how to use a trackpad. This most essential gesture allows the user to click on linked text and photos on websites and on a selected part of a document in a word processor. Without it, you’re literally going nowhere. If you double tap, you’ll perform what is probably the most frequently used gesture: open a file, folder, or app.
Secondary click (right click)
Apple
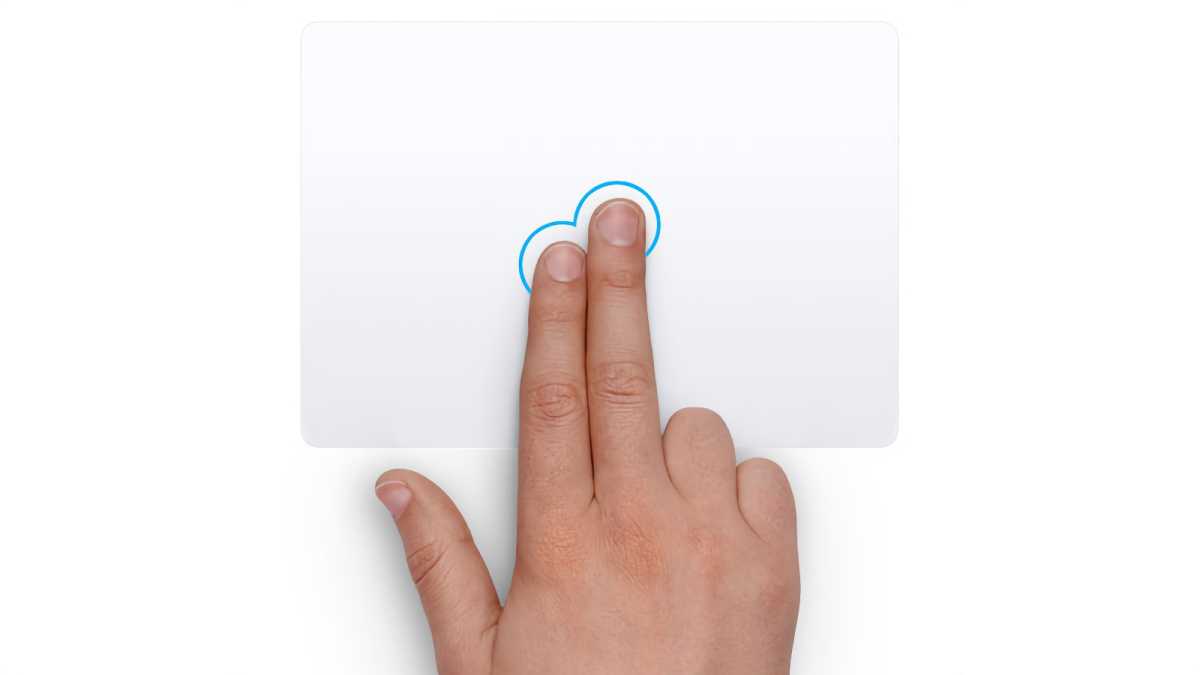
With the two crucial ones already clinched, these next gestures will only enhance your arsenal. Instead of pressing Control and tapping with one finger to right-click, you can click or tap with two fingers to achieve the same result. The Secondary click can reduce strain on your purlicue, the area of the hand between the thumb and forefinger.
Scroll
Apple
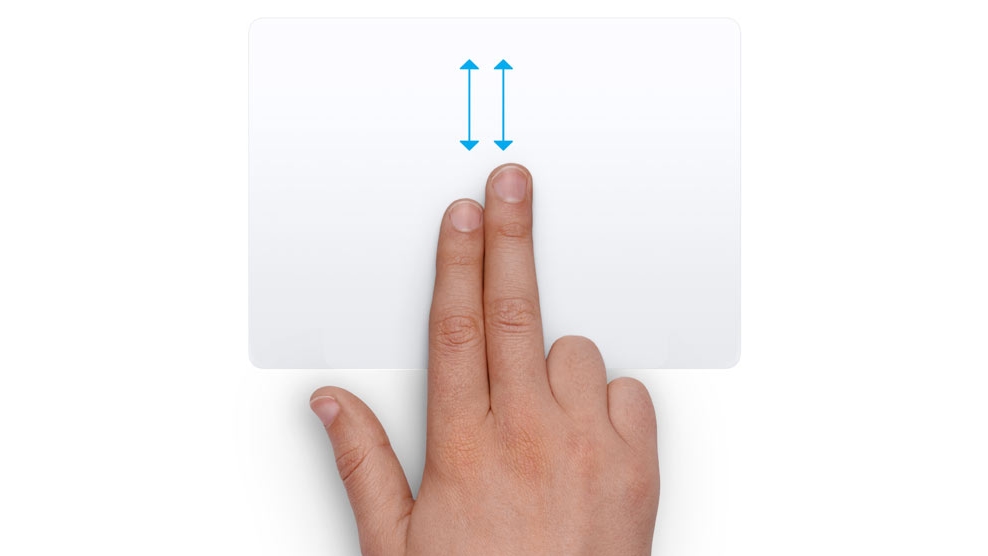
The next key gesture that all trackpad users know and use as often as breathing is when two fingers (typically the forefinger and middle finger) slide up or down to scroll websites and documents. The slider bar that’s usually found on the right edge of a website, word processing page, or Finder window is still handy when there are a lot of pages that you want to quickly jump past, but this gesture will be more useful for the finer points.
Three-finger drag
Apple
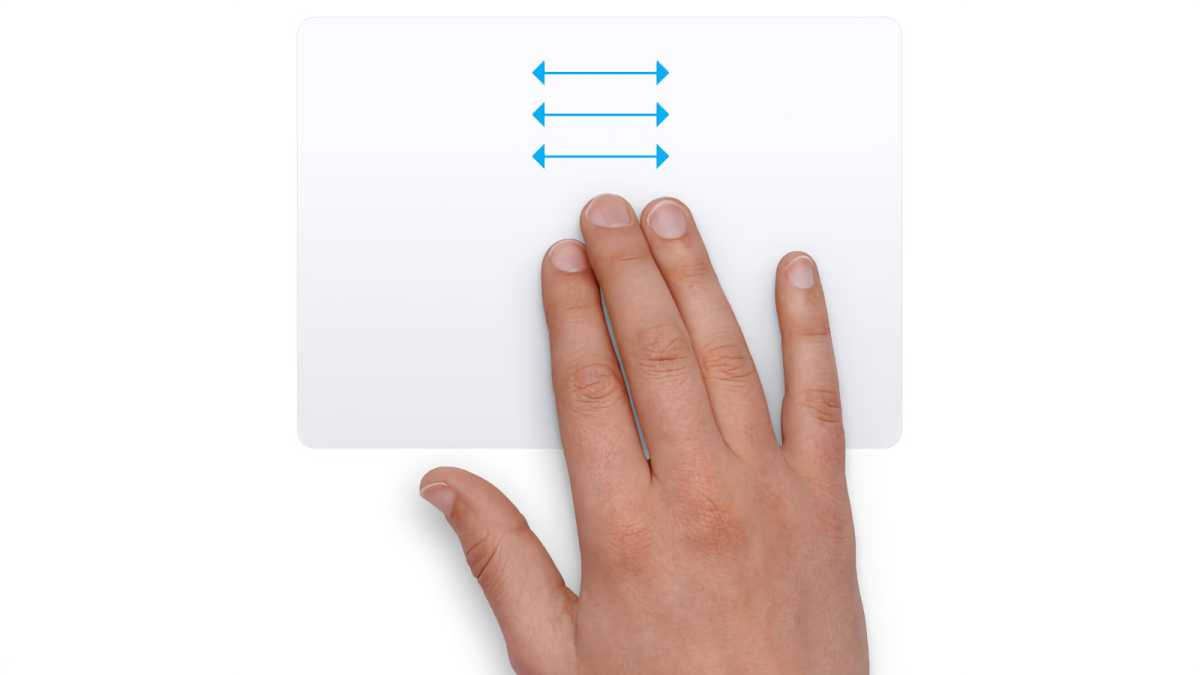
Unlike the other gestures, you’ll need to go to Accessibility preferences in System Settings to turn on three-finger drag. For a more ergonomic movement than what you may be used to making with your thumb and forefinger, you can use three fingers followed by a tap or click in order to drag and drop items on your screen.
Zoom in or out
Apple
It takes two fingers to either pinch and zoom into or stretch to zoom out of text or an image. Just be careful not to accidentally zoom out so far that you see all of your tabs divided into small, separate windows–depending on your tab habits, that might be jolting.
Smart zoom
Apple
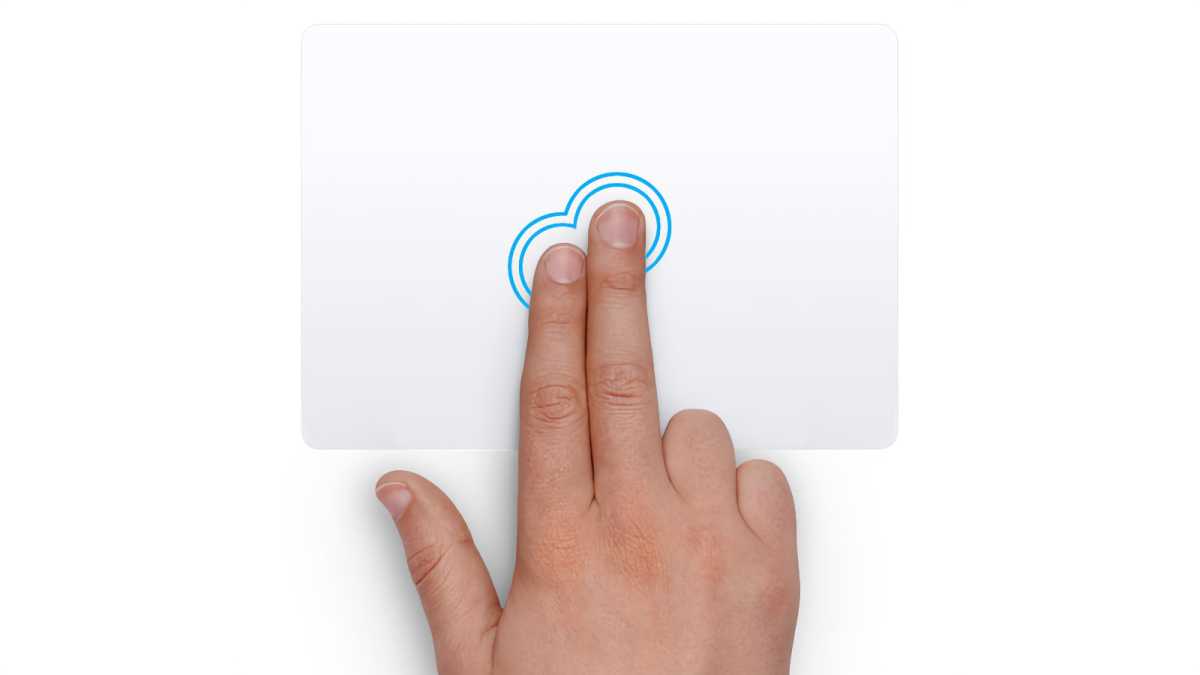
Another dual finger gesture that can help you see better is smart zoom. Tap with two digits to quickly zoom into and then back out of a page or image. This differs from the aforementioned Zoom in or out gesture because there is only one degree of zooming available.
Rotate

Apple
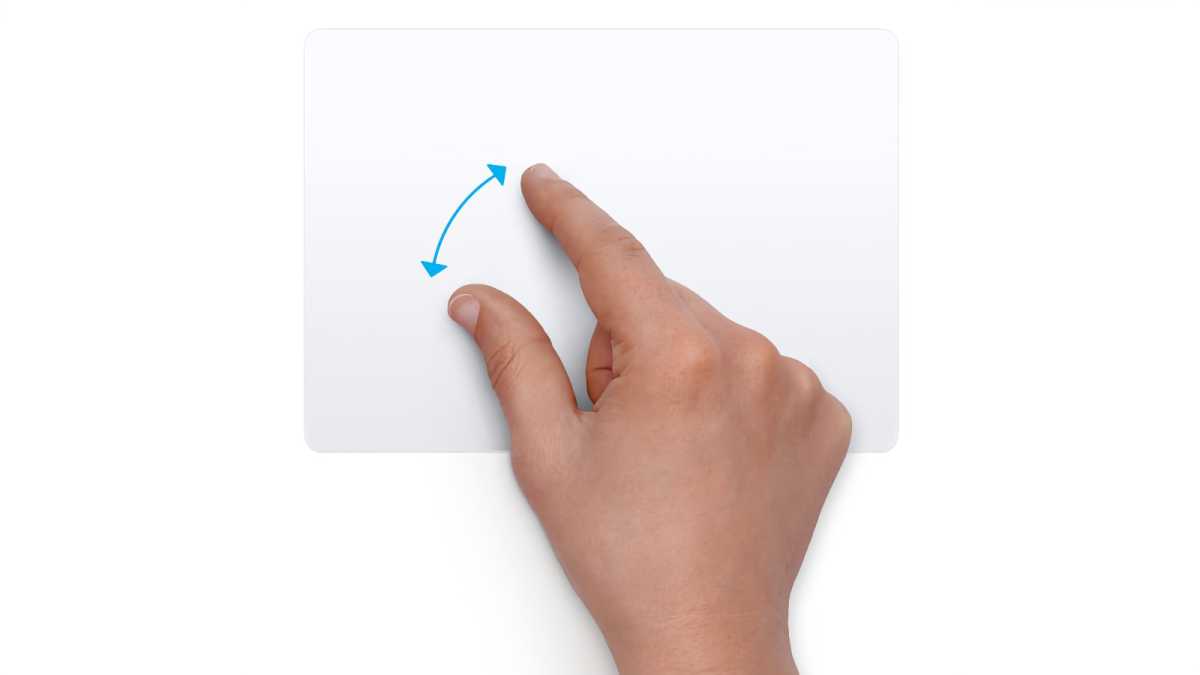
Speaking of images, you can also move two fingers around each other in order to rotate photos. This is useful for situations where the visual might be more interesting if presented with a different orientation. It might take a little bit of practice for doing rotations in fine increments.
Mission Control
Apple
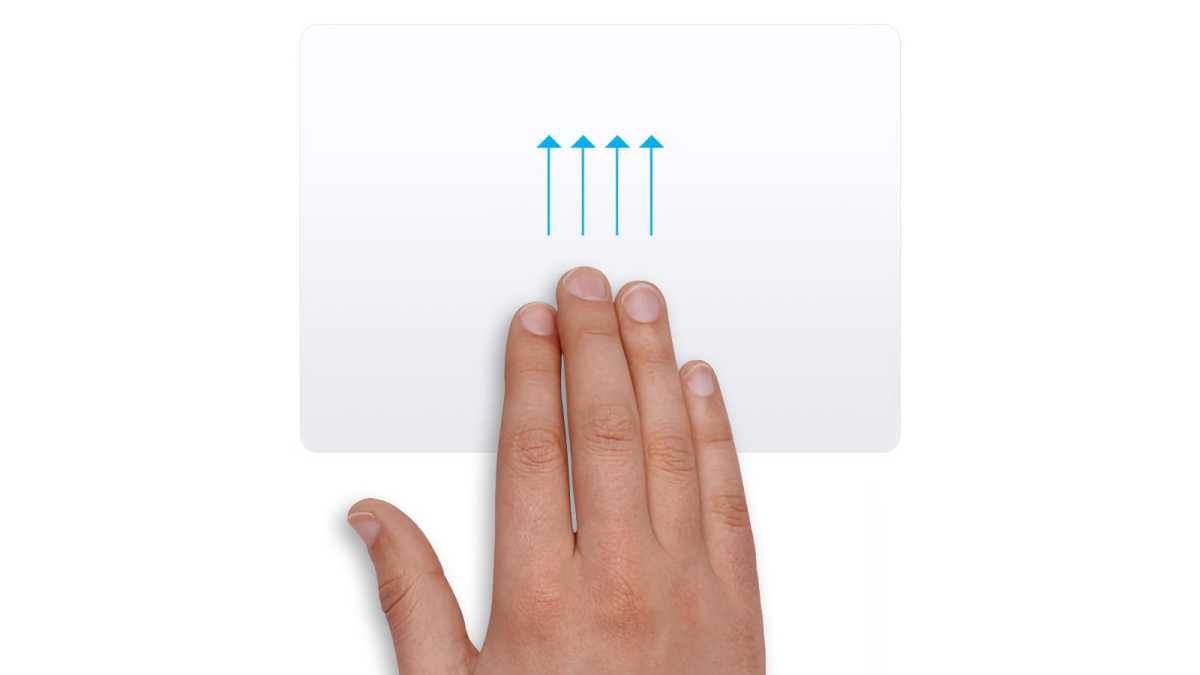
When you’re ready for the overview of everything you have open and running, you can access Mission Control by swiping up with four fingers.
Launchpad
Apple
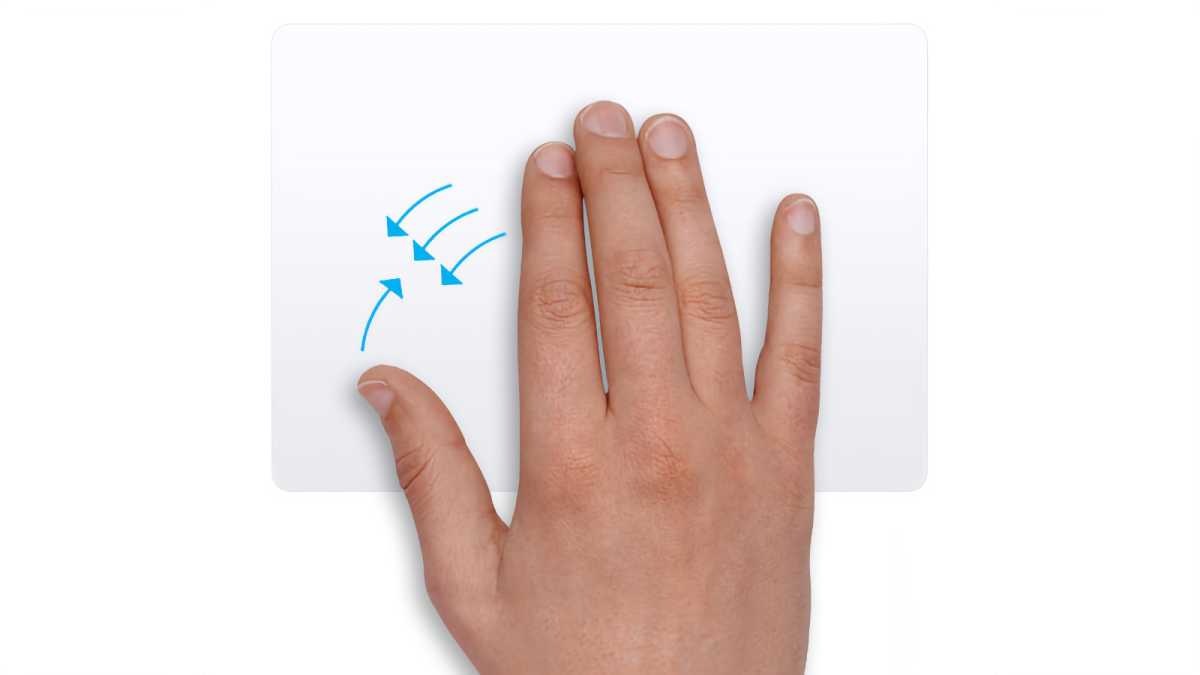
Visually browse your collection of apps with Launchpad, which is accessed by pinching your thumb and three fingers together. It’s especially handy when you want to clear some out to make space for new ones.
Show desktop
Apple
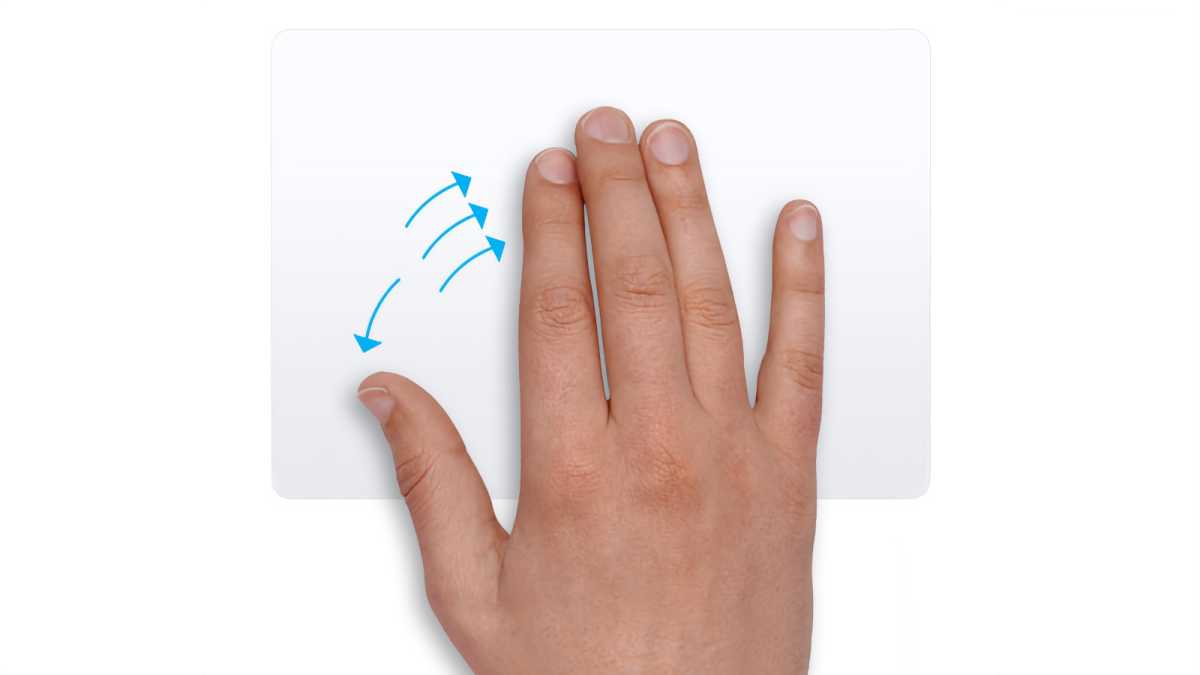
Move your thumb and three fingers apart to show the desktop, which can easily get cluttered and distracting if you don’t glance at it once in a while. This and the opposite Launchpad gesture can both help you with the good housekeeping of your Mac’s user interface.
For all the latest Technology News Click Here
For the latest news and updates, follow us on Google News.
