How to add USB storage to a Roku TV
Whether you have an old or even a new TCL Roku TV, you can add a bit of premium functionality for pretty much free. By plugging in a USB drive to one of the TV’s built-in USB ports, you can add the ability to pause and rewind live TV, letting you rewind up to 90 minutes of live television. And you don’t even need one of the best Roku TVs to do it, since all models offer this capability.
For a feature that cable and satellite companies will often charge for, or that once required a separate bulky device, you have the option of adding it to your Roku TV for no cost, and only a couple of steps. All you need is a 16 GB flash drive.
There are limitations to this feature, though. First, live TV pause is limited to 90 minutes of paused TV. This requires a 16 GB drive to provide the necessary storage space, meaning that a smaller drive will not work; a larger drive will still be limited to that 90 minute limitation, so there’s no benefit in using a bigger drive.
The other caveat is that the pause function is only available on the live TV input, limiting you to whatever’s coming over your antenna or cable connection.
If all that still sounds useful, here’s everything you need to know for how to add USB storage to a Roku TV.
How to add USB storage to a Roku TV: Before you start
If you want to add storage and live TV pause to your Roku smart TV, you’ll need the following items:
- Roku Smart TV
- Live TV input (Antenna or cable)
- Roku TV remote control (or connected Roku smartphone app)
- A USB 2.0-compatible flash drive, 16GB or larger
You also want to make sure that the flash drive doesn’t have any important files on it, or that you’ve backed up those files elsewhere. The live TV pause function does require reformatting the drive. While your drive will still be usable as storage if you unplug it, you will lose any files previously stored on it.
How to add USB storage to a Roku TV: Step-by-step guide
1. Locate one of the USB ports: Like most smart TVs, you should find one or more USB ports on the back or side of your Roku TV. There may be more than one USB slot, but any port will work. Make sure no other USB drives are connected to the TV during setup.
2. Plug the USB drive into the USB port.
3. Activate Live TV Pause. On the Roku home screen, highlight the live TV input.
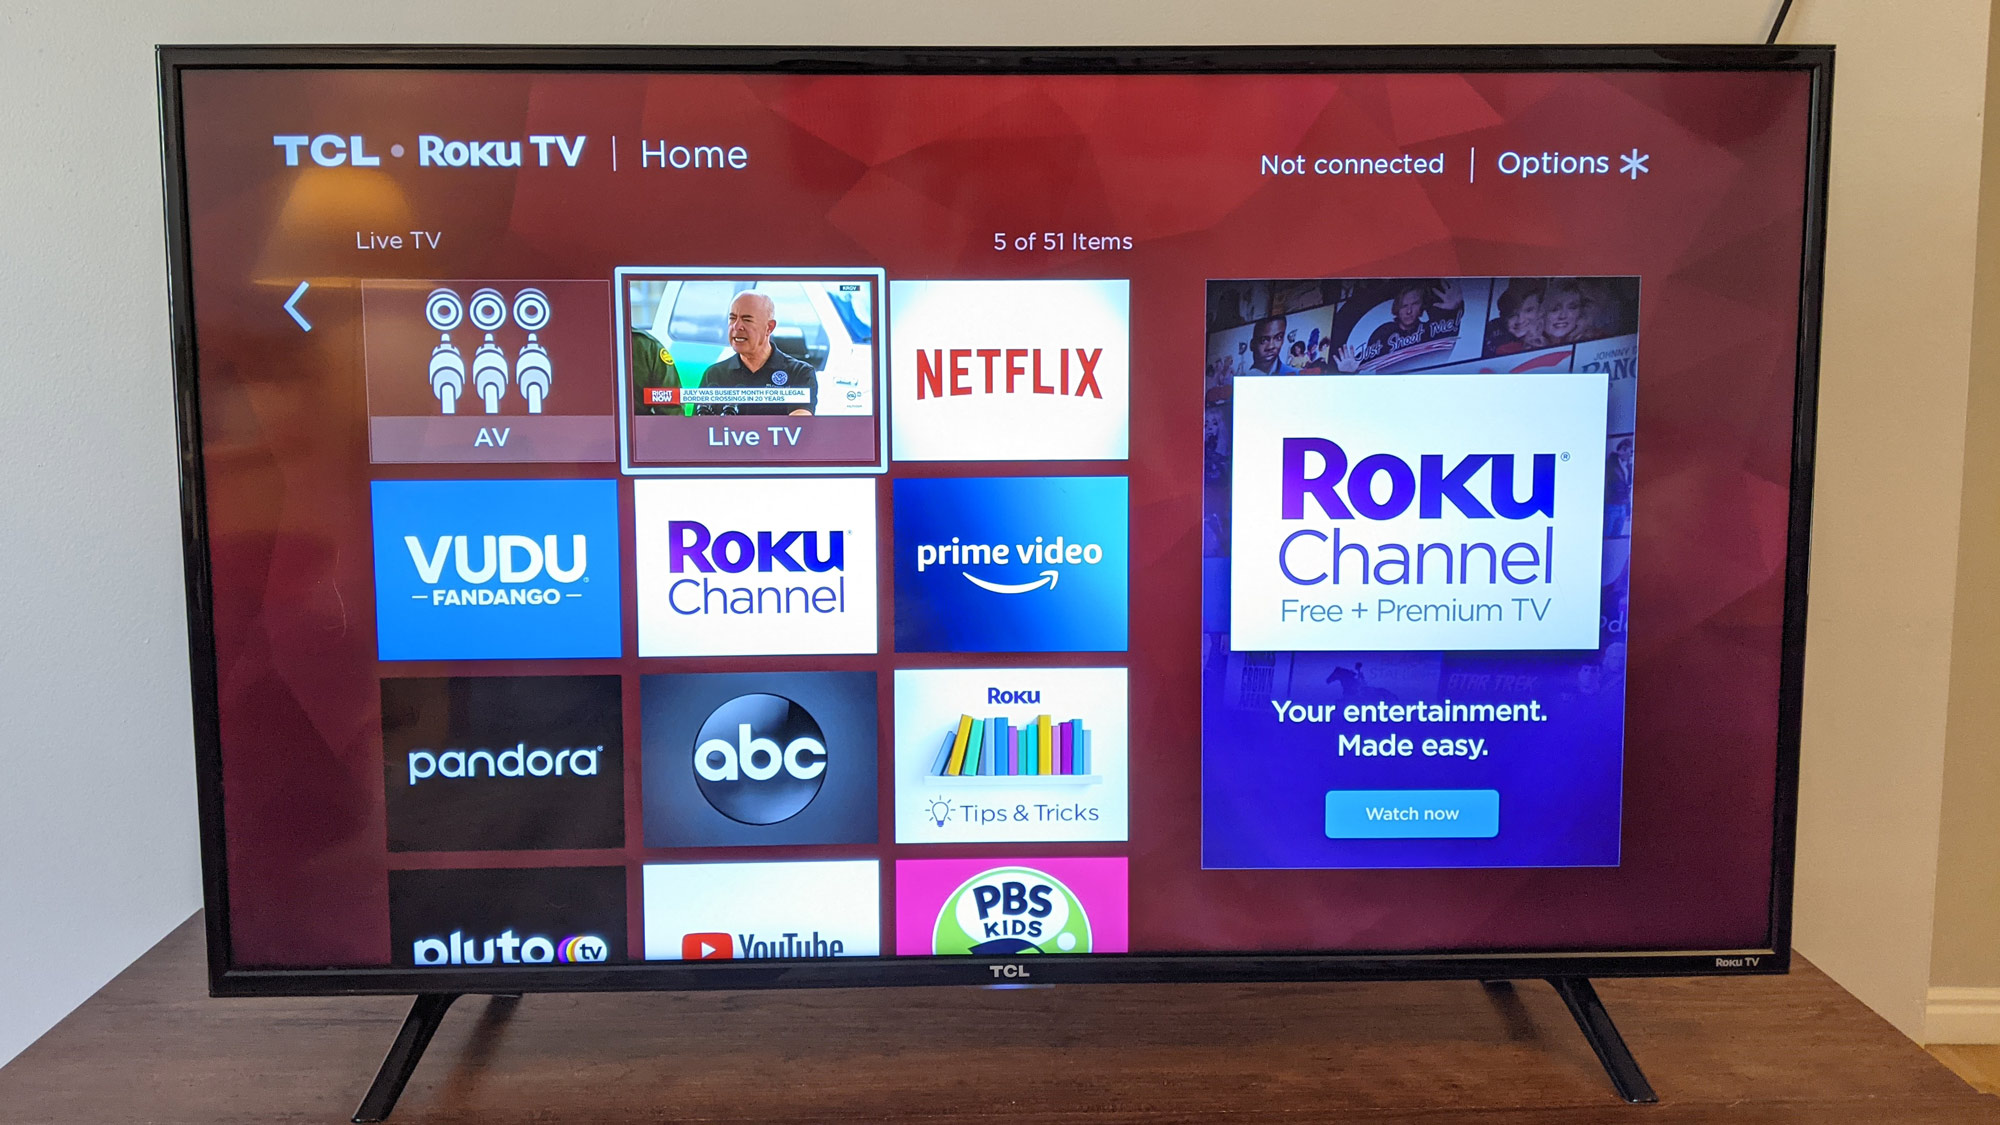
Instead of selecting live TV, press the star button to open the options menu.
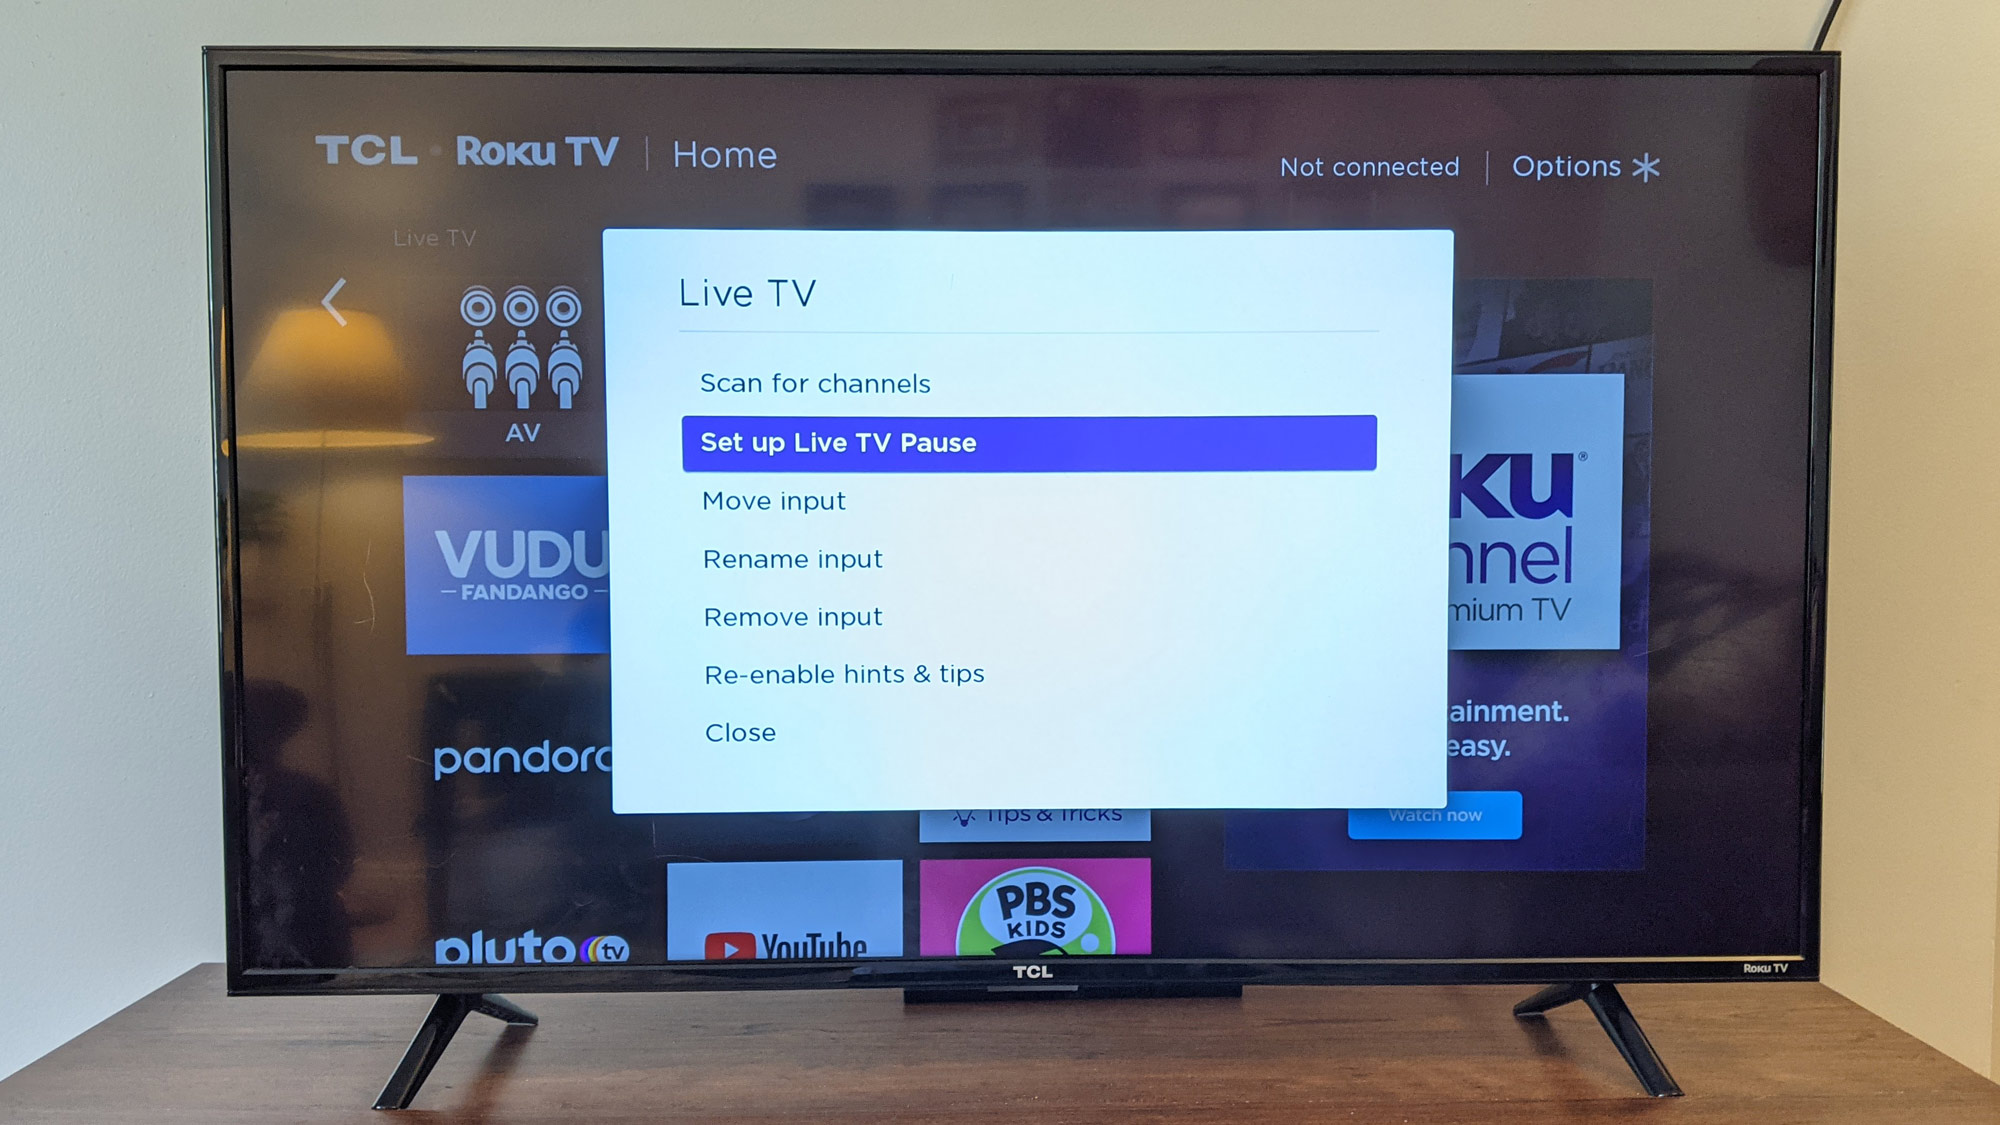
Select “Set up Live TV Pause” to begin the setup process.
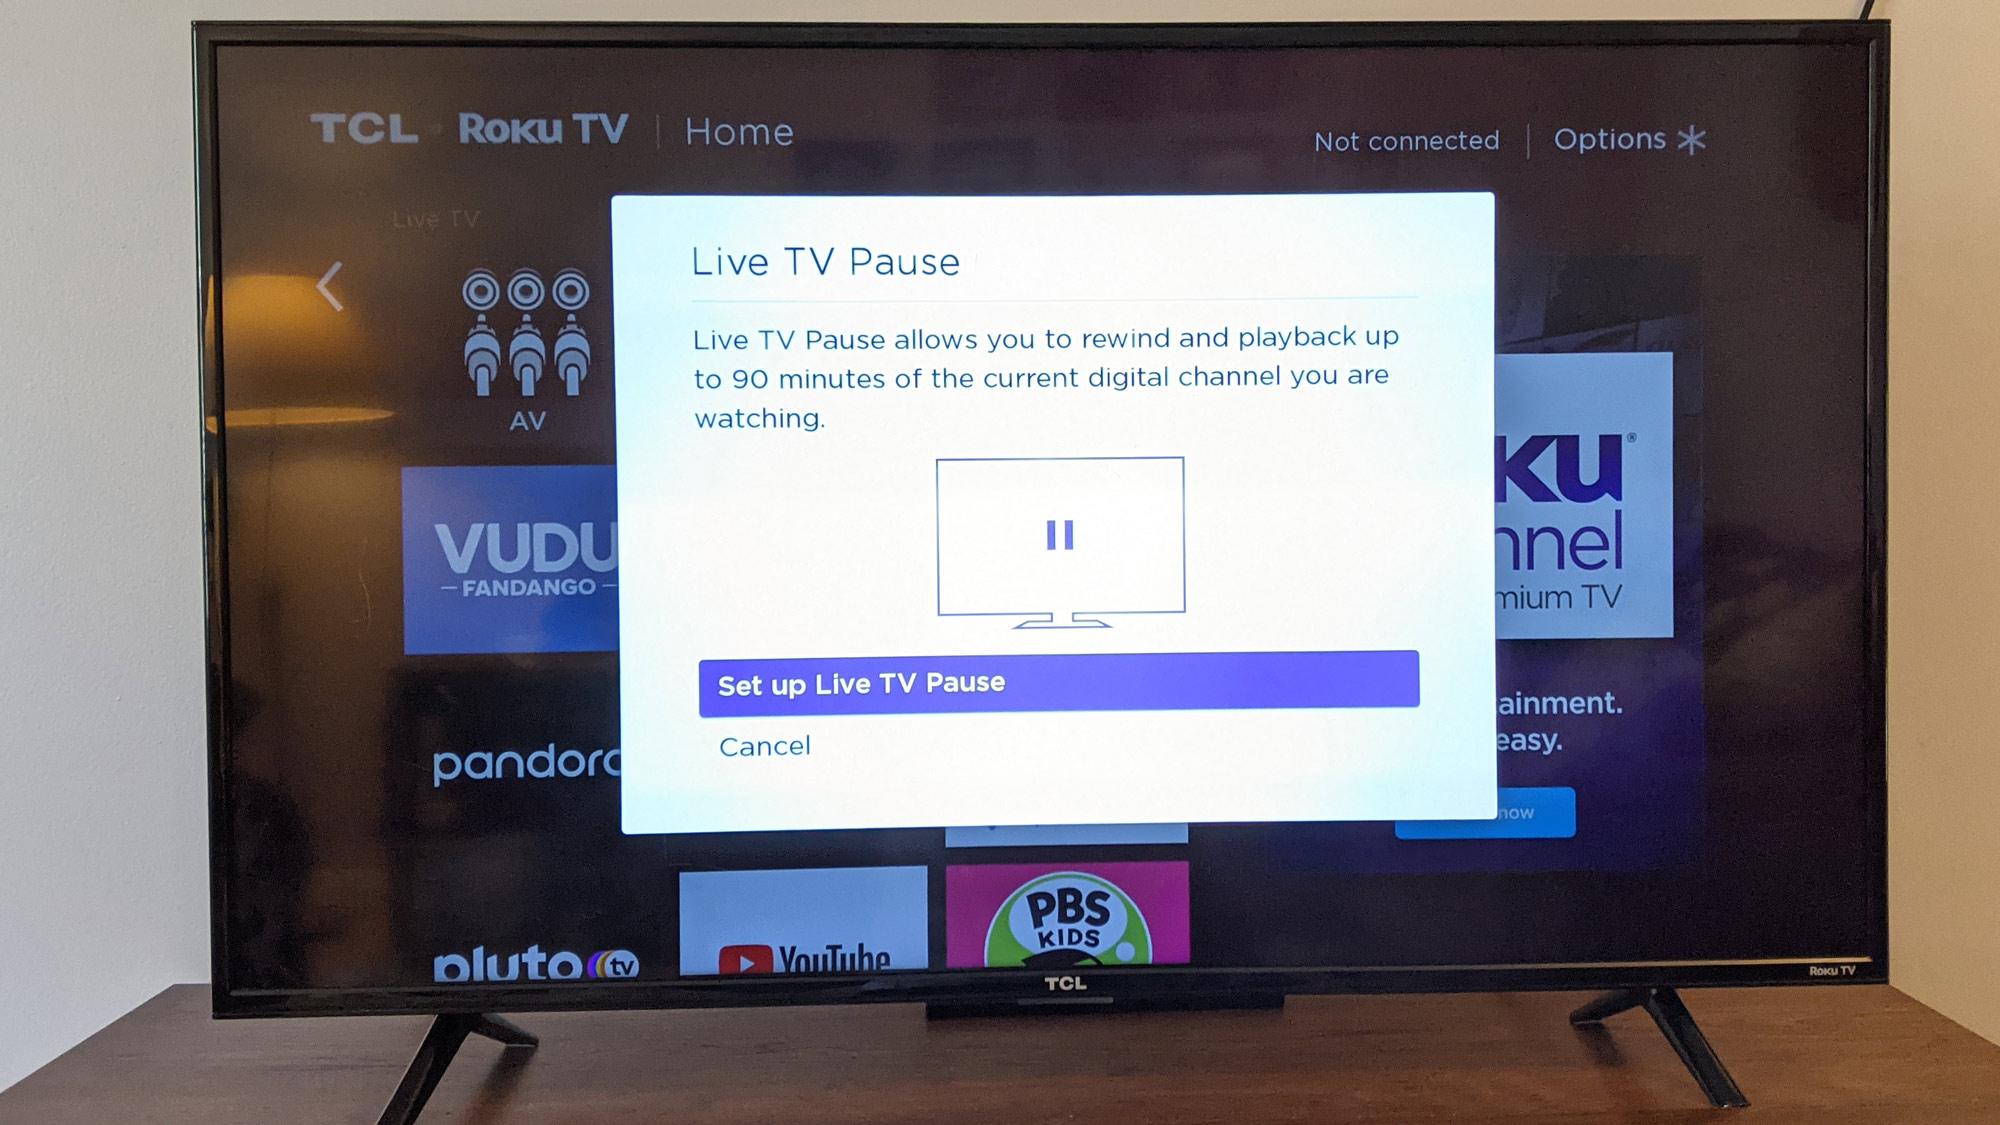
Follow the on-screen instructions to complete setup.
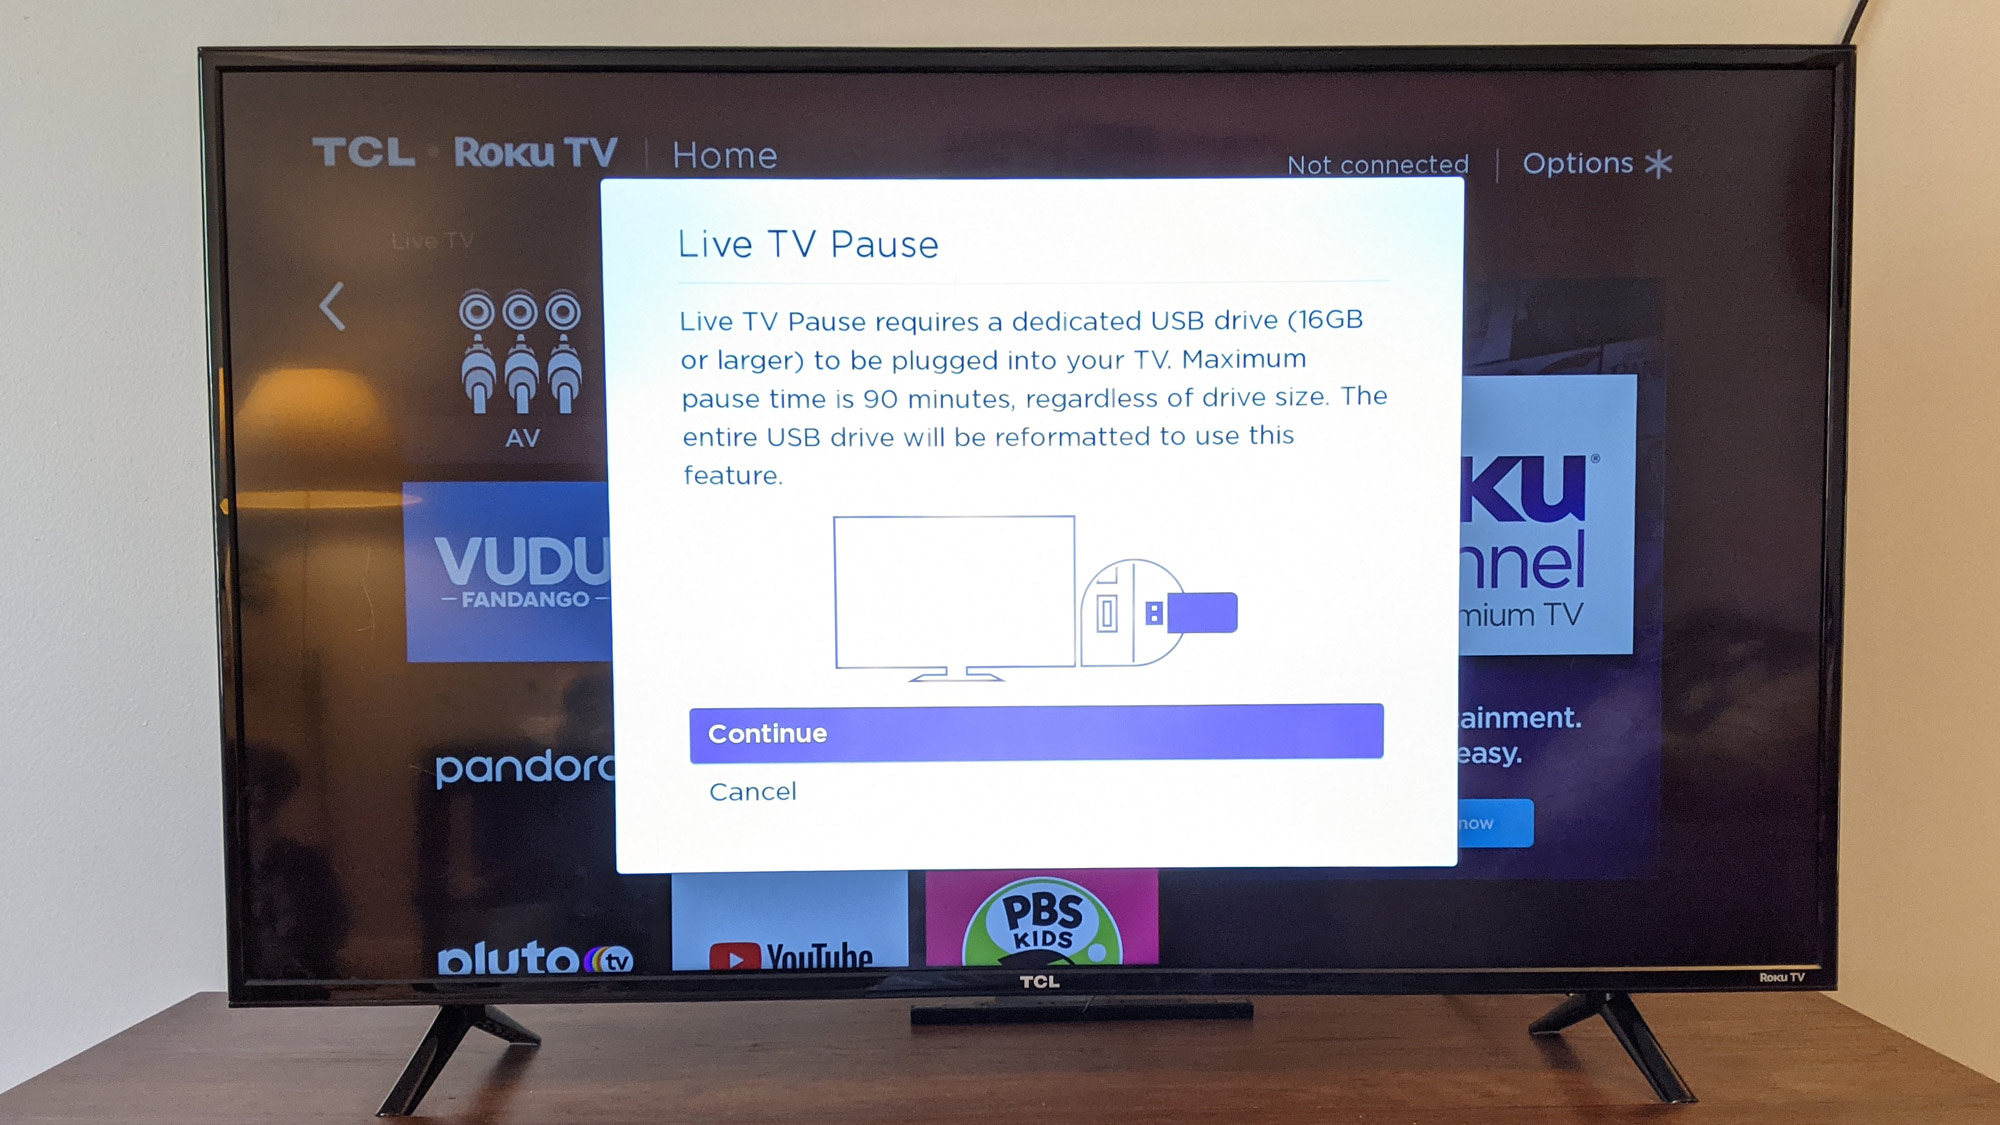
4. Reformat the attached USB Drive. There are a couple of steps that address this, including entering in a PIN number to approve the reformatting. This isn’t a security check, it’s confirmation so that you don’t accidentally reformat a drive with valuable files on it. If your drive is ready to reformat, the confirmation code can be found just below the key pad of the on-screen prompt.
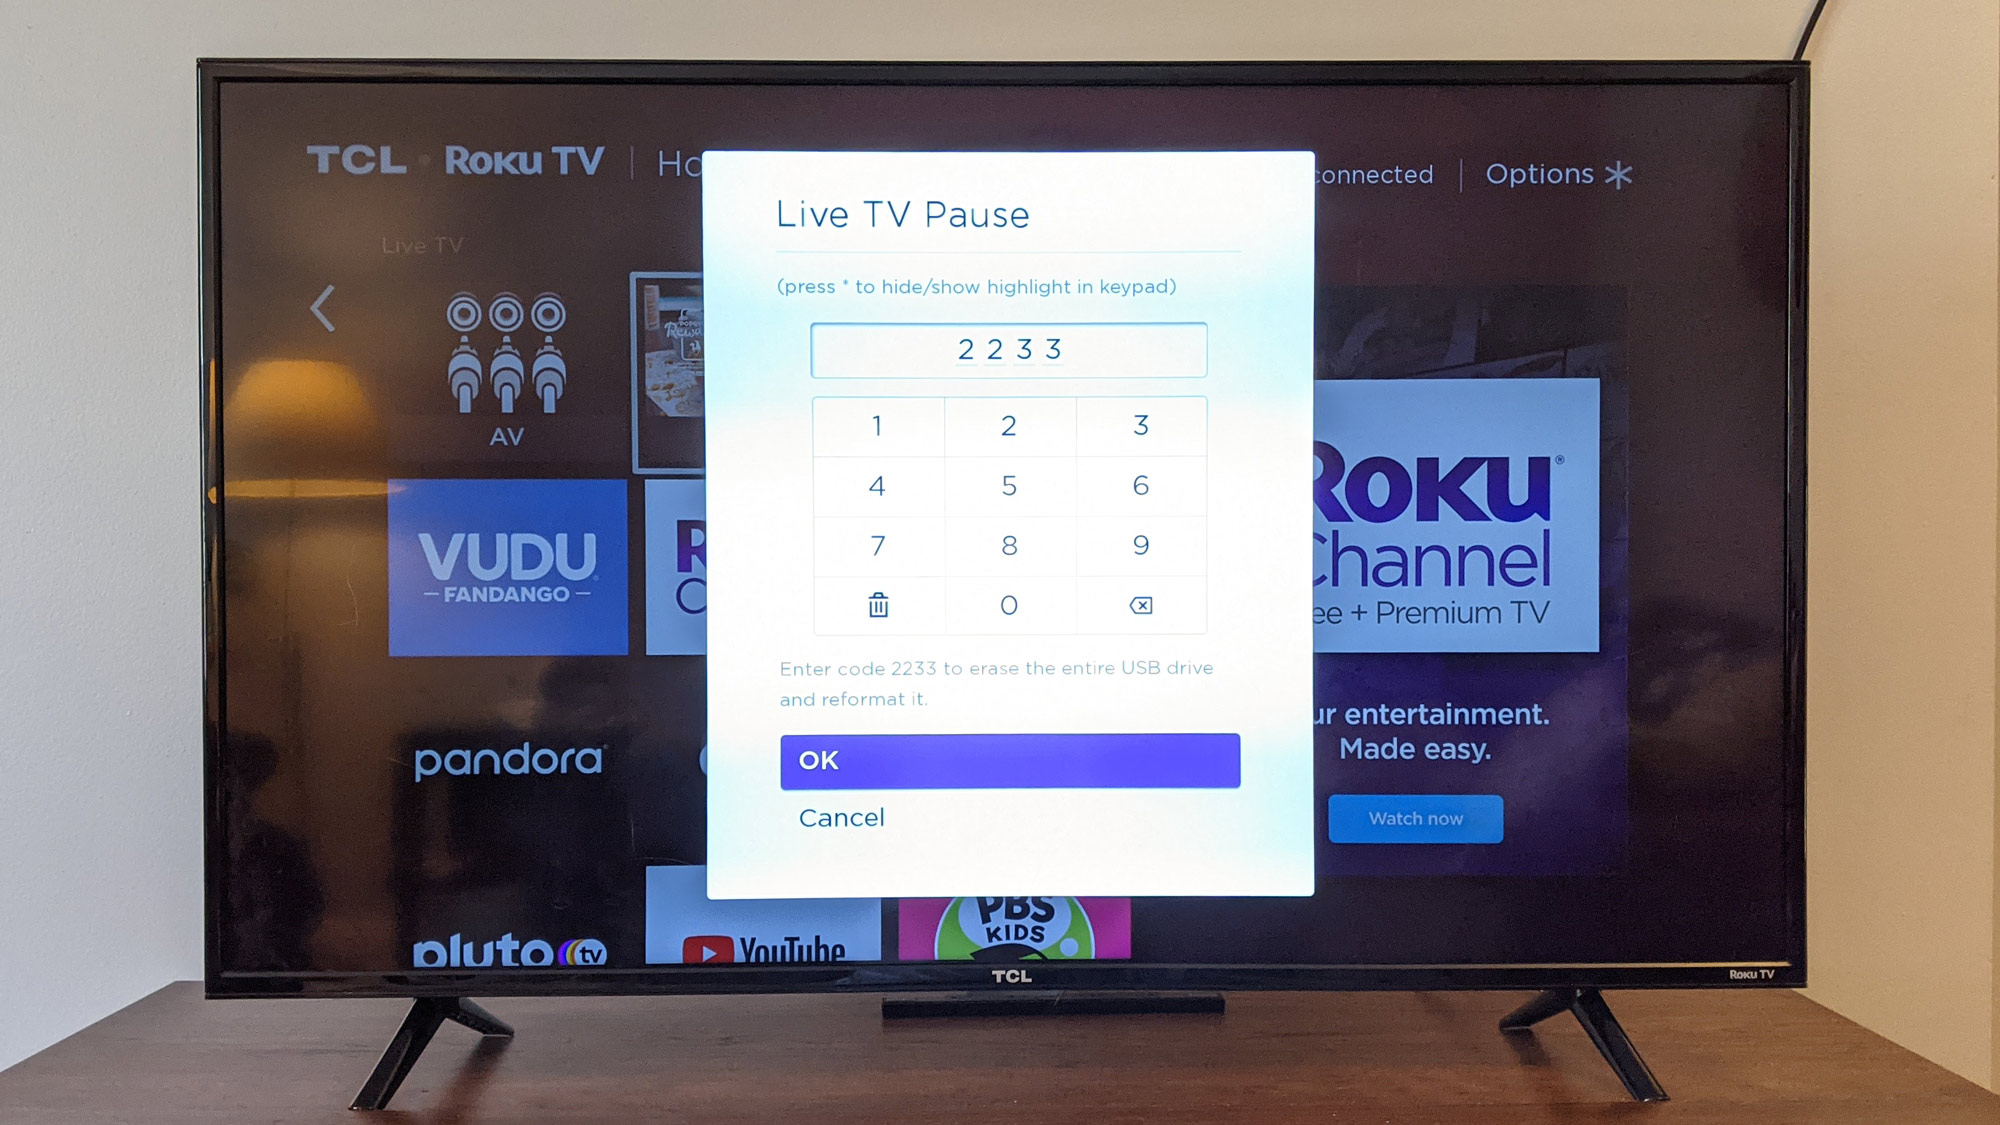
Enter the confirmation code using the remote control’s directional pad. Once you use the confirmation code, the USB drive will begin reformatting.
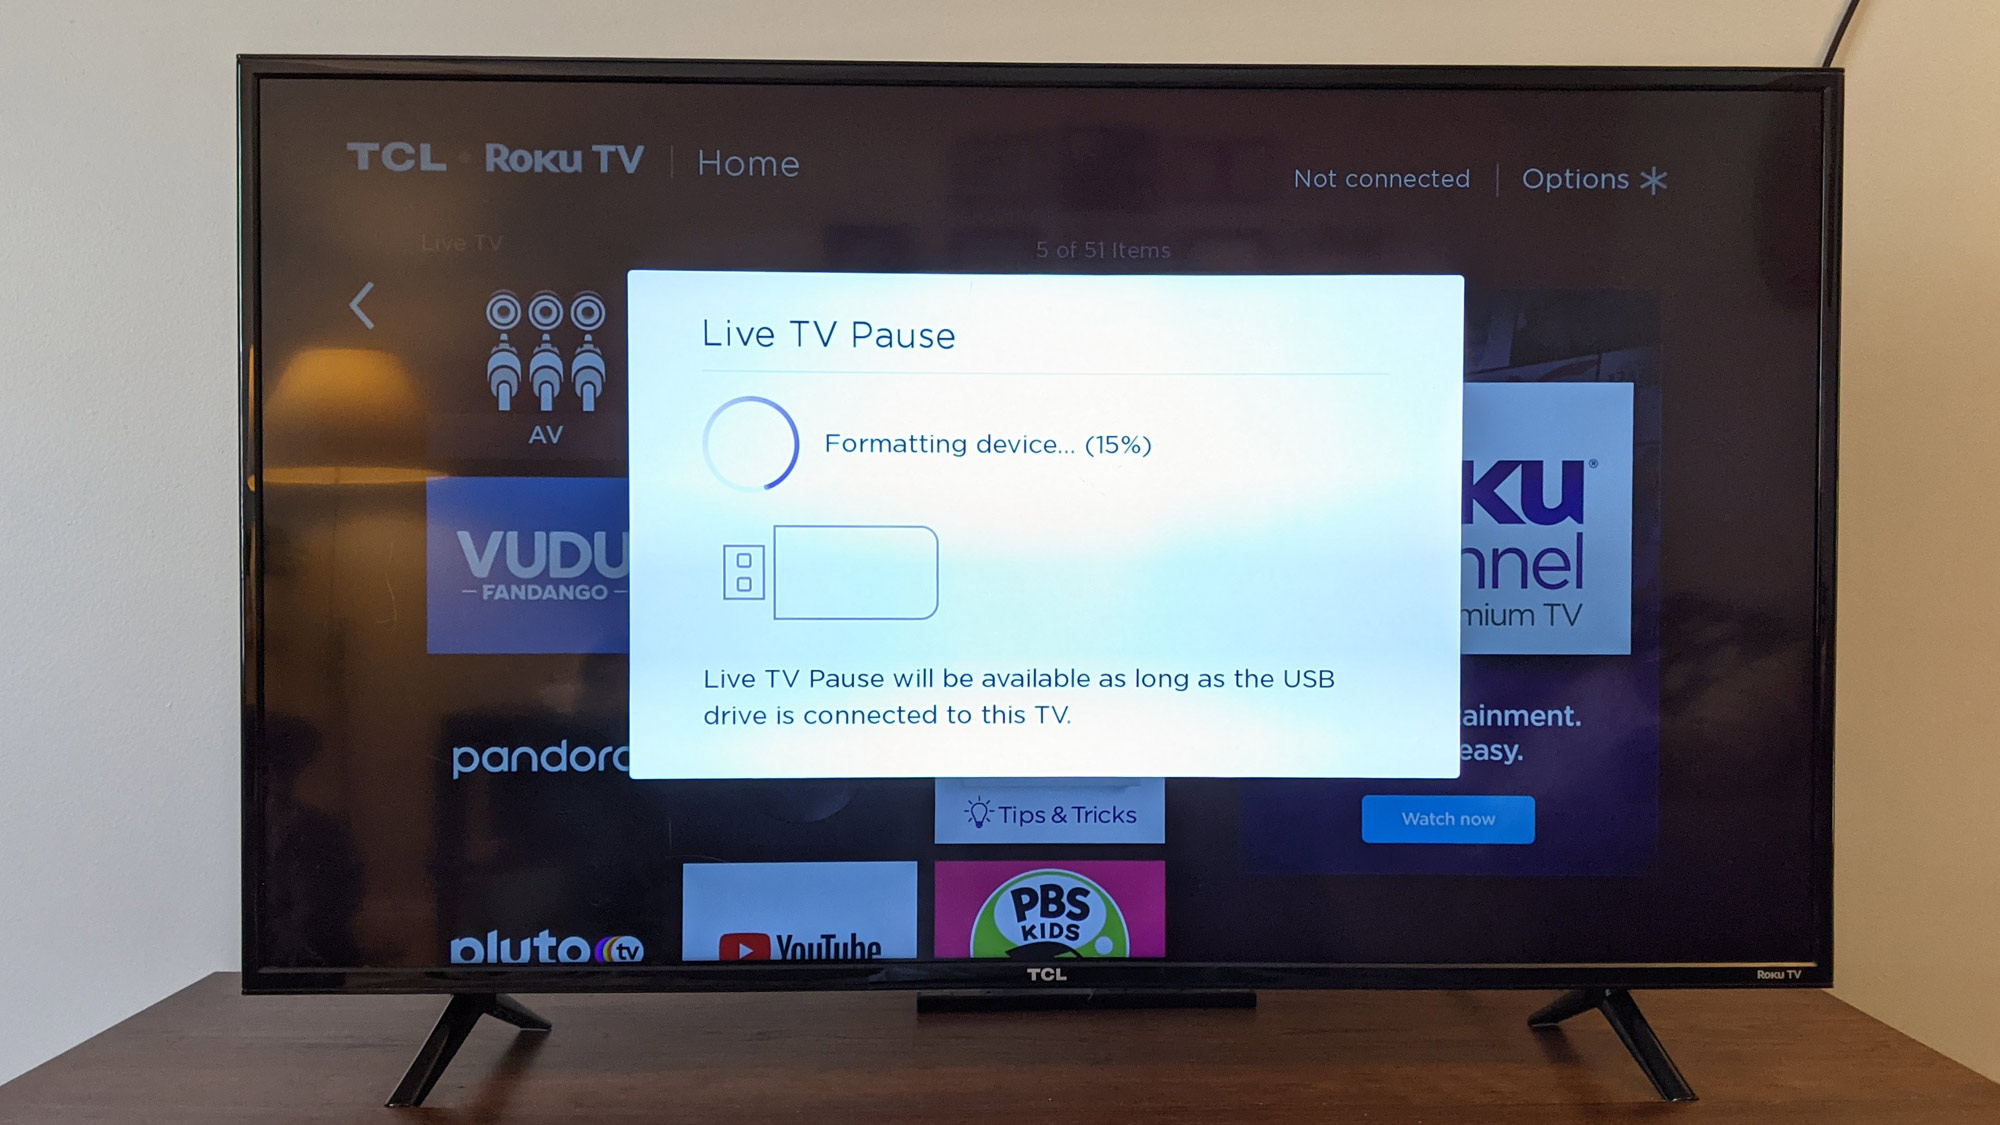
Once it’s done formatting the drive, you will be able to pause live TV.
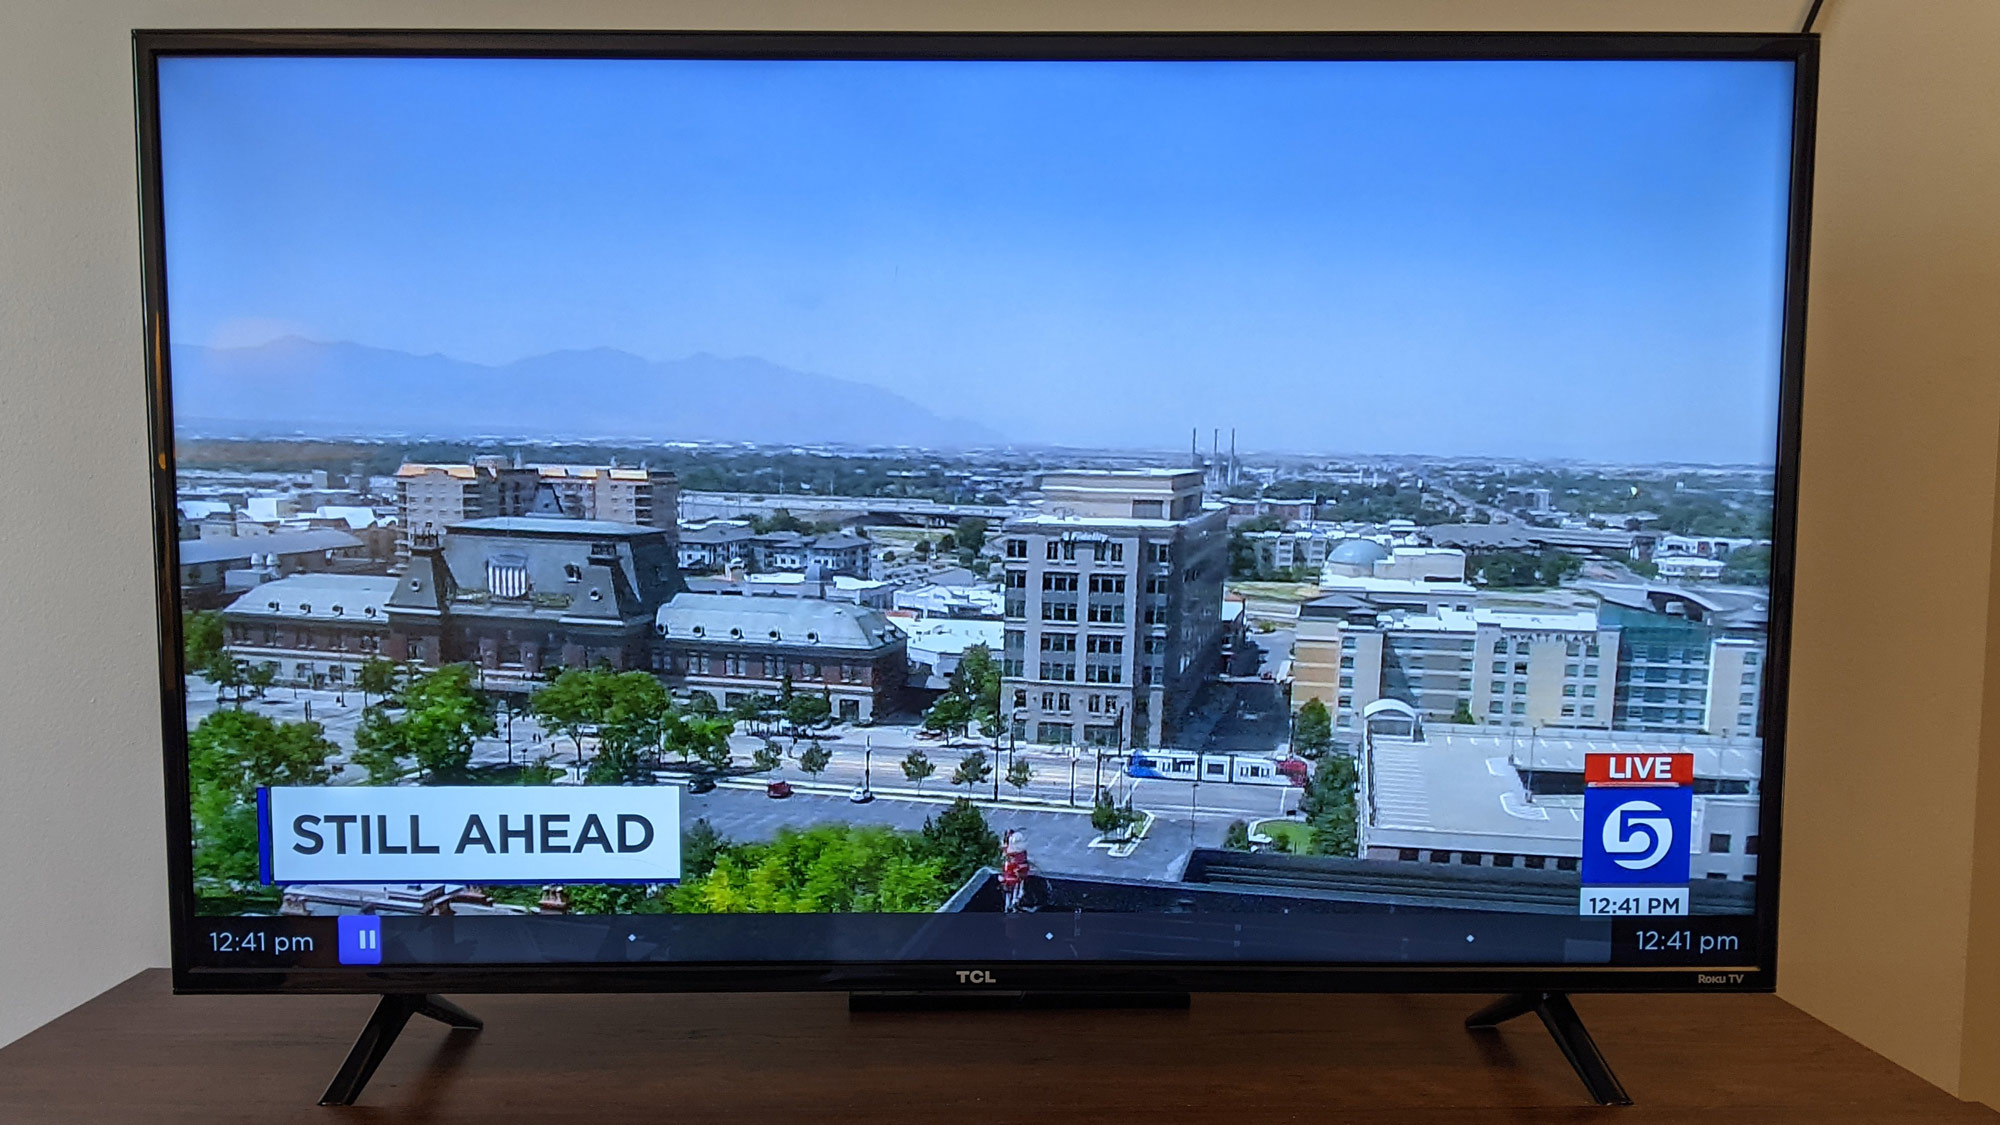
5. Get familiar with live TV pause. Once live TV pause is enabled, you will be able to pause live television using the play/pause button on the Roku remote.
Once paused, you can fast forward and rewind through pause content using the media playback controls on your Roku remote.
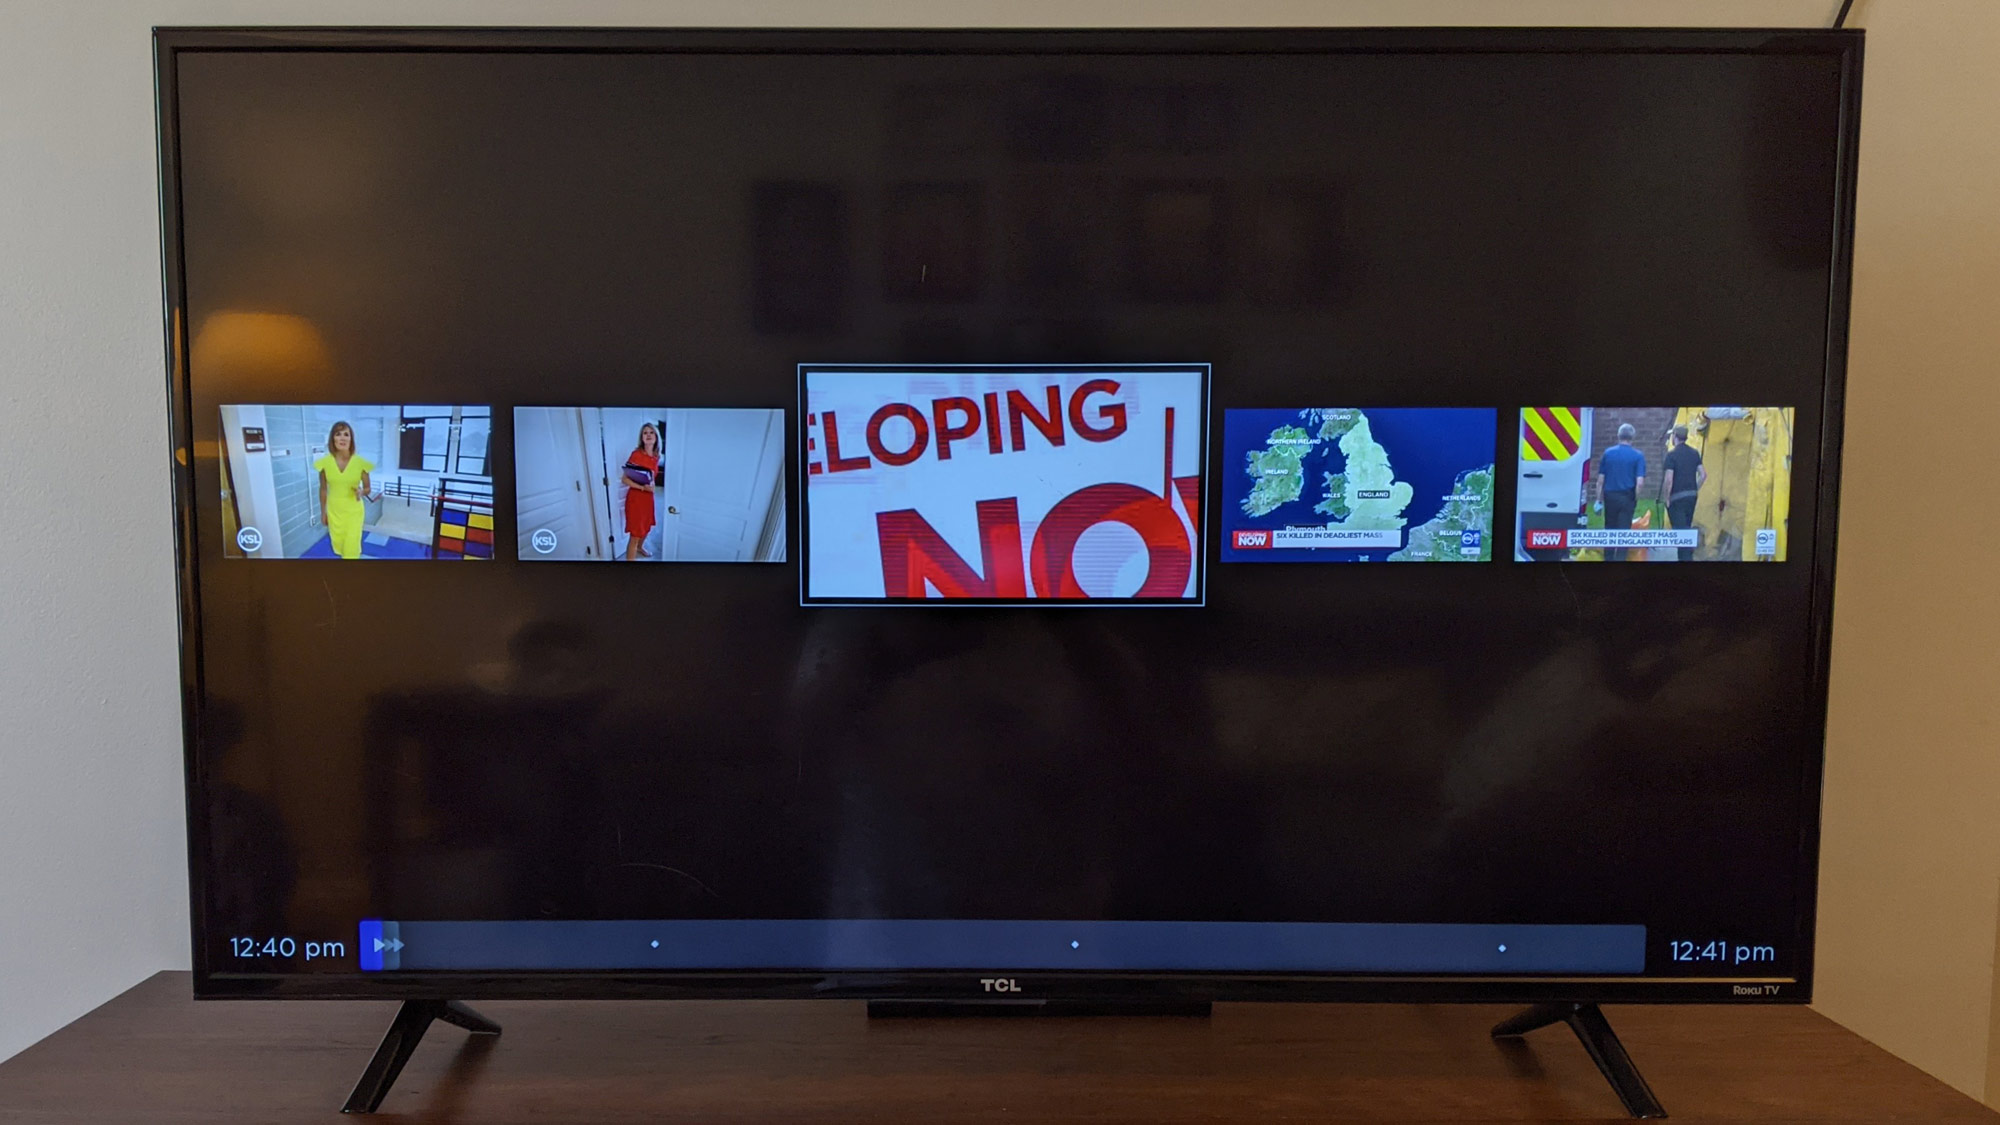
With up to 90 minutes of paused TV saved to the drive — though only as a cache for pausing, there’s no way to pull saved video from the USB storage — you can pause a show and come back with enough saved time to skip ads.
To disable live TV pause, simply unplug the USB drive.
For all the latest Technology News Click Here
For the latest news and updates, follow us on Google News.
