

Photoshop users on iPad will be able to use two new desktop tools, as Adobe has brought them to mobile in a new major update. The Smudge tool is arriving on iPads around the world, accompanied by the Sponge tool.
How to use the Smudge Tool on iPad
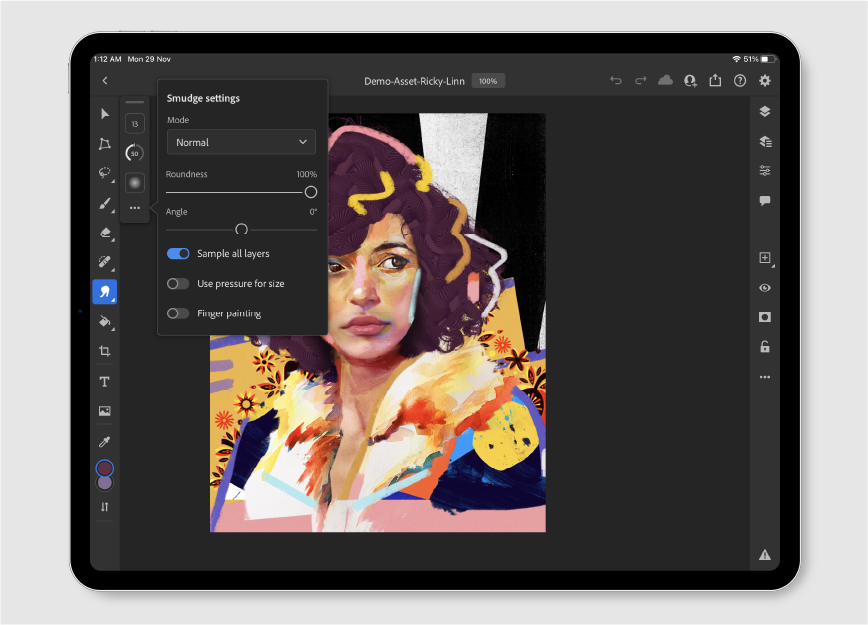
- Tap the Adjustment tools icon from the toolbar to reveal the tool options and select the Smudge tool.
- Now choose your brush settings – Size, Strength, and Hardness.
- Next, tap on the three-dot icon to go to Smudge settings and make selections for Mode (Normal, Darken, Lighten, Hue, Saturation, Color, Luminosity), Roundness, and Angle.
- Brush over the image area where you want to smudge or blend the colors
The Sponge Tool is used to saturate or desaturate different areas of your composition, as well as add a slew of different effects to the image. You can follow this link to get to the full tutorial from Adobe but here’s the TL;DR version.
How to use the Sponge Tool on iPad
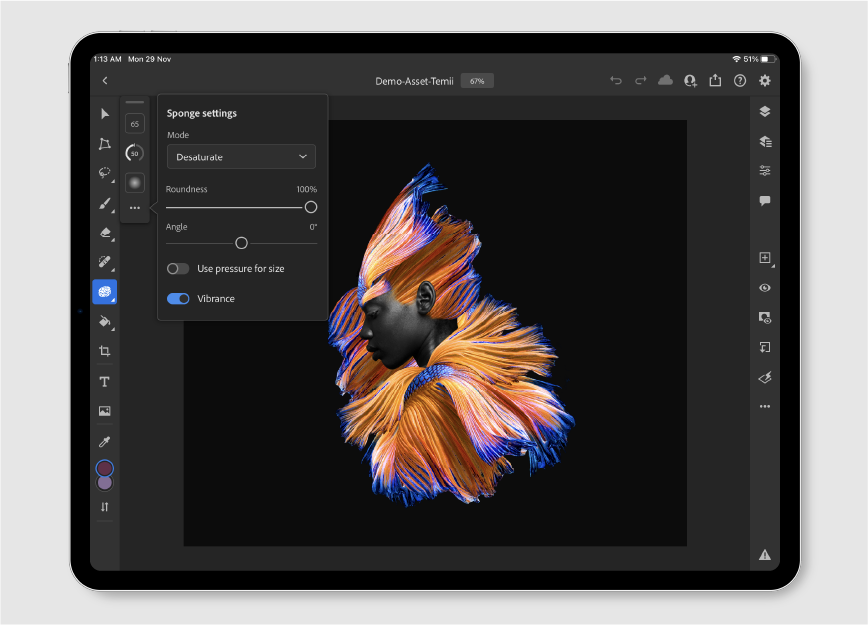
- Tap the Adjustment tools icon from the toolbar to reveal the tool options and select the Sponge tool.
- Now choose your sponge settings – Size, Flow, and Hardness.
- Next, tap on the three-dot icon to go to Sponge settings and make selections for Mode (Saturate/Desaturate), Angle, and Roundness.
- Brush over the image area you want to turn up, or down, the intensity and vibrancy of colors.
The new tools are featured in the December 2021 release of Photoshop on the iPad (version 3.2), and you can start using them right away (after you update your Photoshop app of course).
Adobe Camera Raw support in Photoshop on iPad
Back in October, Adobe announced that it plans to bring support for Camera RAW on the iPad. Now, this support is live – users can adjust the white balance of Camera RAW images, and here’s how to do it.
How to adjust the white balance in Camera RAW images on iPad
- Tap on the eyedropper tool from the Color control.
- Tap an area of the image to control the white balance and Temp and Tint will adjust accordingly.
You can also check out this little sneak peek on Camera RAW editing:
Premiere Pro update on desktop
There’s a December release for Premiere Pro users on desktop (version 22.1.1), as well – bringing a whole bunch of new features and functionalities such as the Search and Replace and spell-checking, a brand new Universal Text engine, greatly improved shape tools, and professional editing workflow improvements.An important change is the new hardware acceleration for Apple’s M1- powered Macs. The DCI 4K and 8K HEVC format exports will now be hardware-accelerated, resulting in much faster performance. There are some performance improvements for Windows-based users as well – PCs with Intel GPUs will get a boost to video playback.
You may also find interesting:
For all the latest Technology News Click Here
For the latest news and updates, follow us on Google News.