The ultimate guide to Siri Shortcuts
Productivity experts say that if you need to do a task more than once, you should find a way to automate it. However, just the idea of automation is intimidating to most. So, in typical Apple fashion, the California-based technology company continuously works to make automation more approachable.
In 2017 Apple announced it was buying an automation app called Workflow. A year later, in 2018, Apple unveiled a new app called Shortcuts. Shortcuts is built on top of groundwork laid out by Workflow. Shortcuts allow an iPhone, iPad, or Mac user to take a task that would typically take several steps and simplify it down to a single tap of an icon or voice request with Siri. Every year Apple adds new features and improvements to Shortcuts, including the next release of iOS 16 and macOS 13.
Many look at the Shortcuts app and decide to delete it or move it into the “Apple Junk” folder. I also didn’t get much value out of Shortcuts for a long time. However, in early 2022 I started to dive into the app and automate actions on my iPhone and Mac. This article is meant to help someone better understand what Shortcuts are, how they can get started, and provide a few examples.
What are Siri Shortcuts?
While Shortcuts is an app, Siri Shortcuts are automations that can be created within the app. Siri Shortcuts are a way for someone to take several tasks usually done manually and action them all in a defined sequential order with a single tap or voice command.
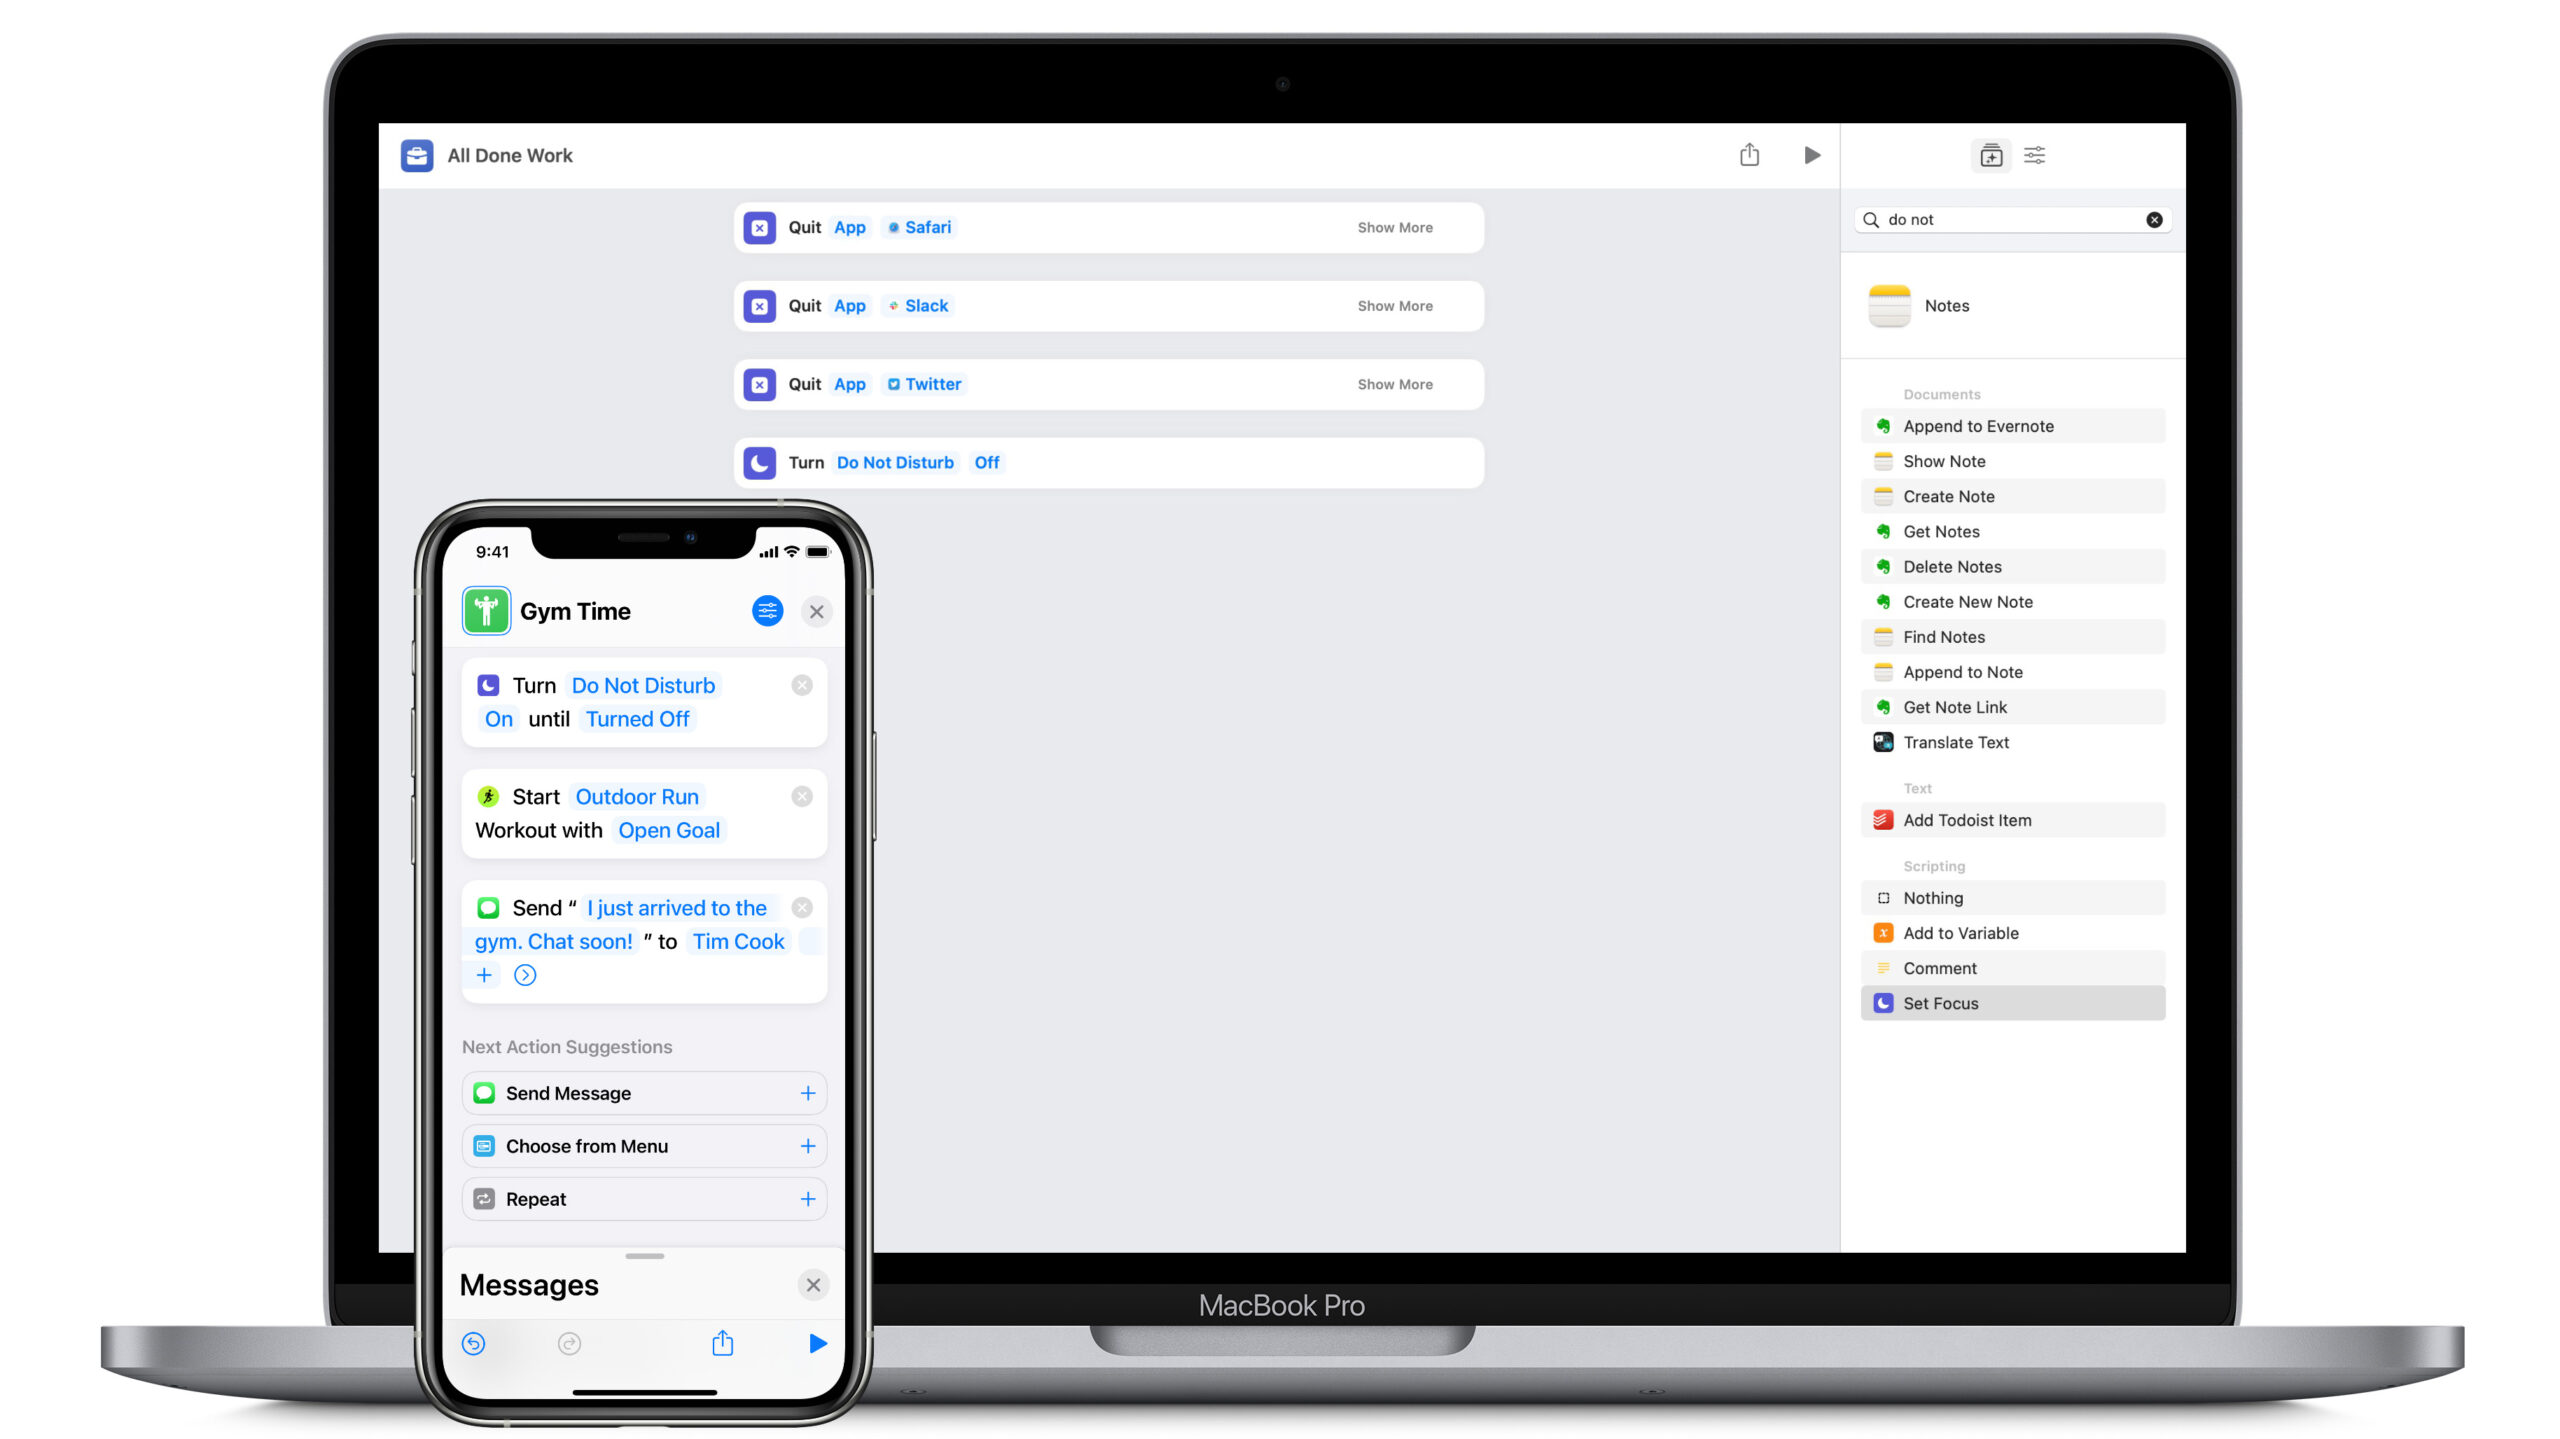
Think of tasks you frequently do, like opening up several apps on your Mac every morning when you start work or starting a workout, then a playlist, followed by enabling do not disturb before hopping on the treadmill. One or more steps can all be done automatically with a Siri Shortcut.
Siri Shortcuts can be added to your iPhone or iPads’ home screen as an app-sized icon or as a Widget. In macOS, select Siri Shortcuts can appear in a dropdown from the menu bar. Of course, your Siri Shortcuts live in the Shortcuts app and are assigned unique names, so you can easily trigger them via voice with Siri.
The Shortcuts app is preinstalled on all iPhones, iPads, and Macs. If deleted on iOS, you can reinstall Shortcuts from the App Store. What’s also great is that Shortcuts syncs with all of your devices via iCloud, meaning you can trigger a Shortcut on your Mac, iPhone, iPad, Apple Watch, or HomePod.
Shortcuts or Automations?

Siri Shortcuts come in two flavours: manually triggered or automatically triggered. While Shortcuts aims to automate frequently done tasks, many actions you likely will want to do trigger manually. You may not exercise at 8am every morning despite how hard you try, so your workout Shortcut may be best left to be manually triggered.
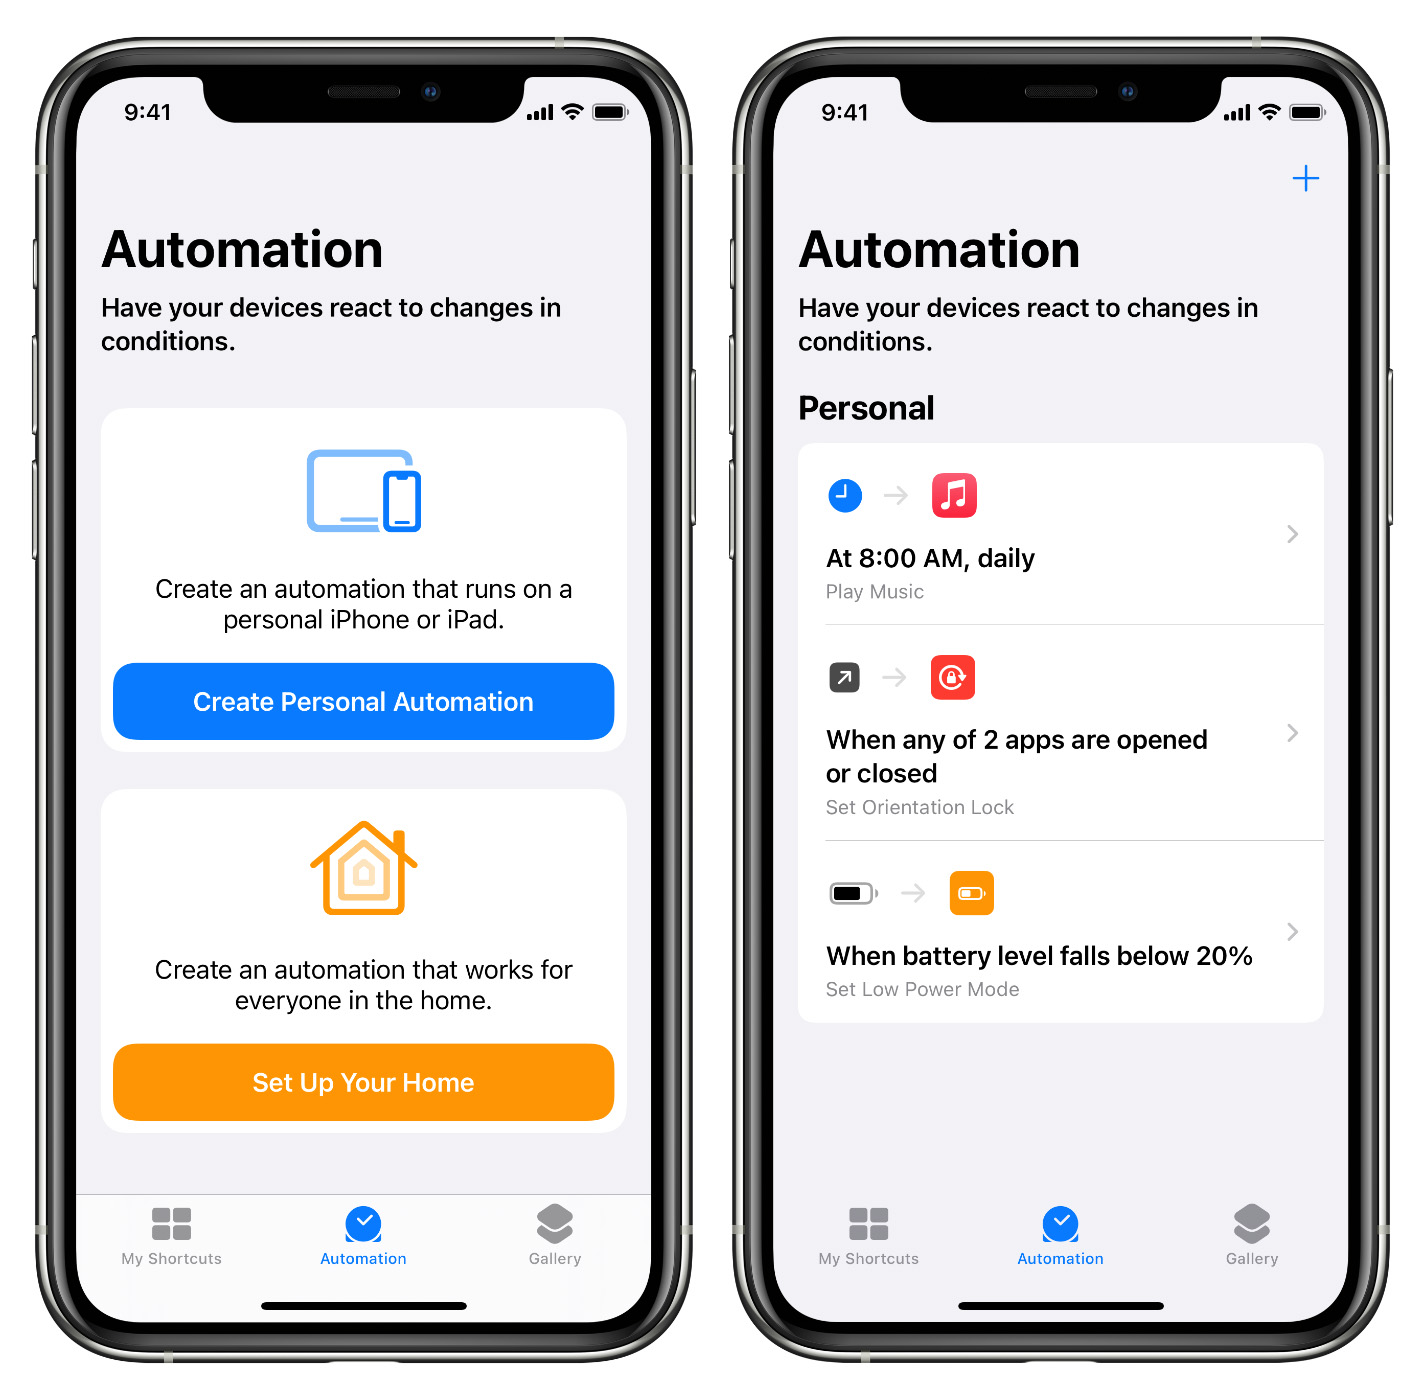
However, there may be one or more actions you want to happen every time you launch a specific app or arrive at a particular location. These are called Automations. As the name implies, these are Siri Shortcuts automatically triggered when a particular condition is met.
For example, I prefer the rotation lock to be on all the time. Except I got annoyed when taking or viewing photos, and my iPhone wouldn’t rotate. So, I created an automation that toggles the rotation lock off and back on when I launch or leave the Camera or Photos app.
When creating an automation, think of actions you want to action every time you arrive or leave a location, launch or close an app, or enable a focus mode. By default, automatons notify you every time they run. However, you can turn that feature off. Automations are also only available in iOS and not available in macOS.
How do I build a Siri Shortcut?

Now that you understand what the Shortcuts app is and what Siri Shortcuts are. Hopefully, you want to make your own! Creating Siri Shortcuts ranges from incredibly simple to a fair bit challenging. Rest assured, there are a ton of resources available that are linked in the next section of this article.
Personally, I haven’t dived into any complex Siri Shortcuts. I’ve kept them simple and slowly built on them as I see new opportunities to automate my work life. Apple offers a ton of apps and actions within the Shortcuts app. There are so many that I encourage you to open Shortcuts and take a look to see what peeks your interest.
Additionally, third-party apps also can create actions for Siri Shortcuts. Most frequently, I use Timery to start and stop time tracking apps as part of the majority of my Siri Shortcuts. In addition, I use AirBuddy 2 to connect to my AirPods before a Zoom call and Watch for Tesla lets me create Siri Shortcuts that control my Model 3. There are countless possibilities that can be added to your Siri Shortcuts between Apple and third-party apps.
To add a Siri Shortcut on iOS:
1. Launch Shortcuts
2. Tap on the plus (‘+‘) icon
3. Tap Shortcut Name to give your Siri Shortcut a unique trigger phrase
4. Tap on the square icon in the top left corner to change the Siri Shortcuts unique icon
5. Tap Add Action
6. Search for the app or action you want to add to your Siri Shortcut
7. Tap on the action to add it to your Siri Shortcut
8. Tap on the light blue variables to set specific inputs for your Siri Shortcut
9. To add another action, tap on the ‘X‘ in the lower right-hand corner above the play icon
10. Tap Search for apps and actions
11. Repeat steps 6 to 10 as many times as desired
12. Tap on the sliders in the top right corner to add the Siri Shortcut to your home screen, share sheet, Mac’s menu bar, or Apple Watch.
13. Tap Done
13. When finished with your Siri Shortcut, tap the ‘X‘ in the top right corner to save it to the Shortcuts app
14. Tap on the Siri Shortcut’s tile to action the Siri Shortcut.
To add a Automation on iOS:
1. Launch Shortcuts
2. Tap Automations
3. Tap Create Personal Automation or the plus (‘+‘) icon
4. Tap on your automation’s trigger
5. Input any requested criteria
6. Tap Next
7. Tap Add Action
8. Search for the app or action you want to add to your Automation
9. Tap on the action to add it to your Automation
10. Tap on the light blue variables to set specific inputs for your Siri Shortcut
11. To add another action, tap on the ‘X‘ in the lower right-hand corner above the play icon
12. Tap Search for apps and actions
13. Repeat steps 8 to 12 as many times as desired
14. Tap Next
15. Tap Done
To add a Siri Shortcut on macOS:
1. Launch Shortcuts
2. Click on the plus (‘+‘) icon
3. Click Shortcut Name to give your Siri Shortcut a unique trigger phrase
4. Click on the square icon in the top left corner to change the Siri Shortcuts unique icon
5. Click on Search for apps and actions in the top right corner
6. Search for the app or action you want to add to your Siri Shortcut
7. Click on the action to add it to your Siri Shortcut
8. Click on the light blue variables to set specific inputs for your Siri Shortcut
9. To add another action, repeat steps 5 to 8 as many times as desired
10. Click on the sliders in the top right corner to add the Siri Shortcut to your share sheet, menu bar, or Apple Watch.
11. When finished with your Siri Shortcut, tap the red ‘X‘ in the left corner to save it to the Shortcuts app
14. Click on the Siri Shortcut’s tile to action the Siri Shortcut.
Need some inspiration?

The best way to build a Siri Shortcut is to find an annoying repetitive task you want to automate. Automation is always better than going off of memory because you never miss a step and what takes several tasks can be shrunk down to a single action.
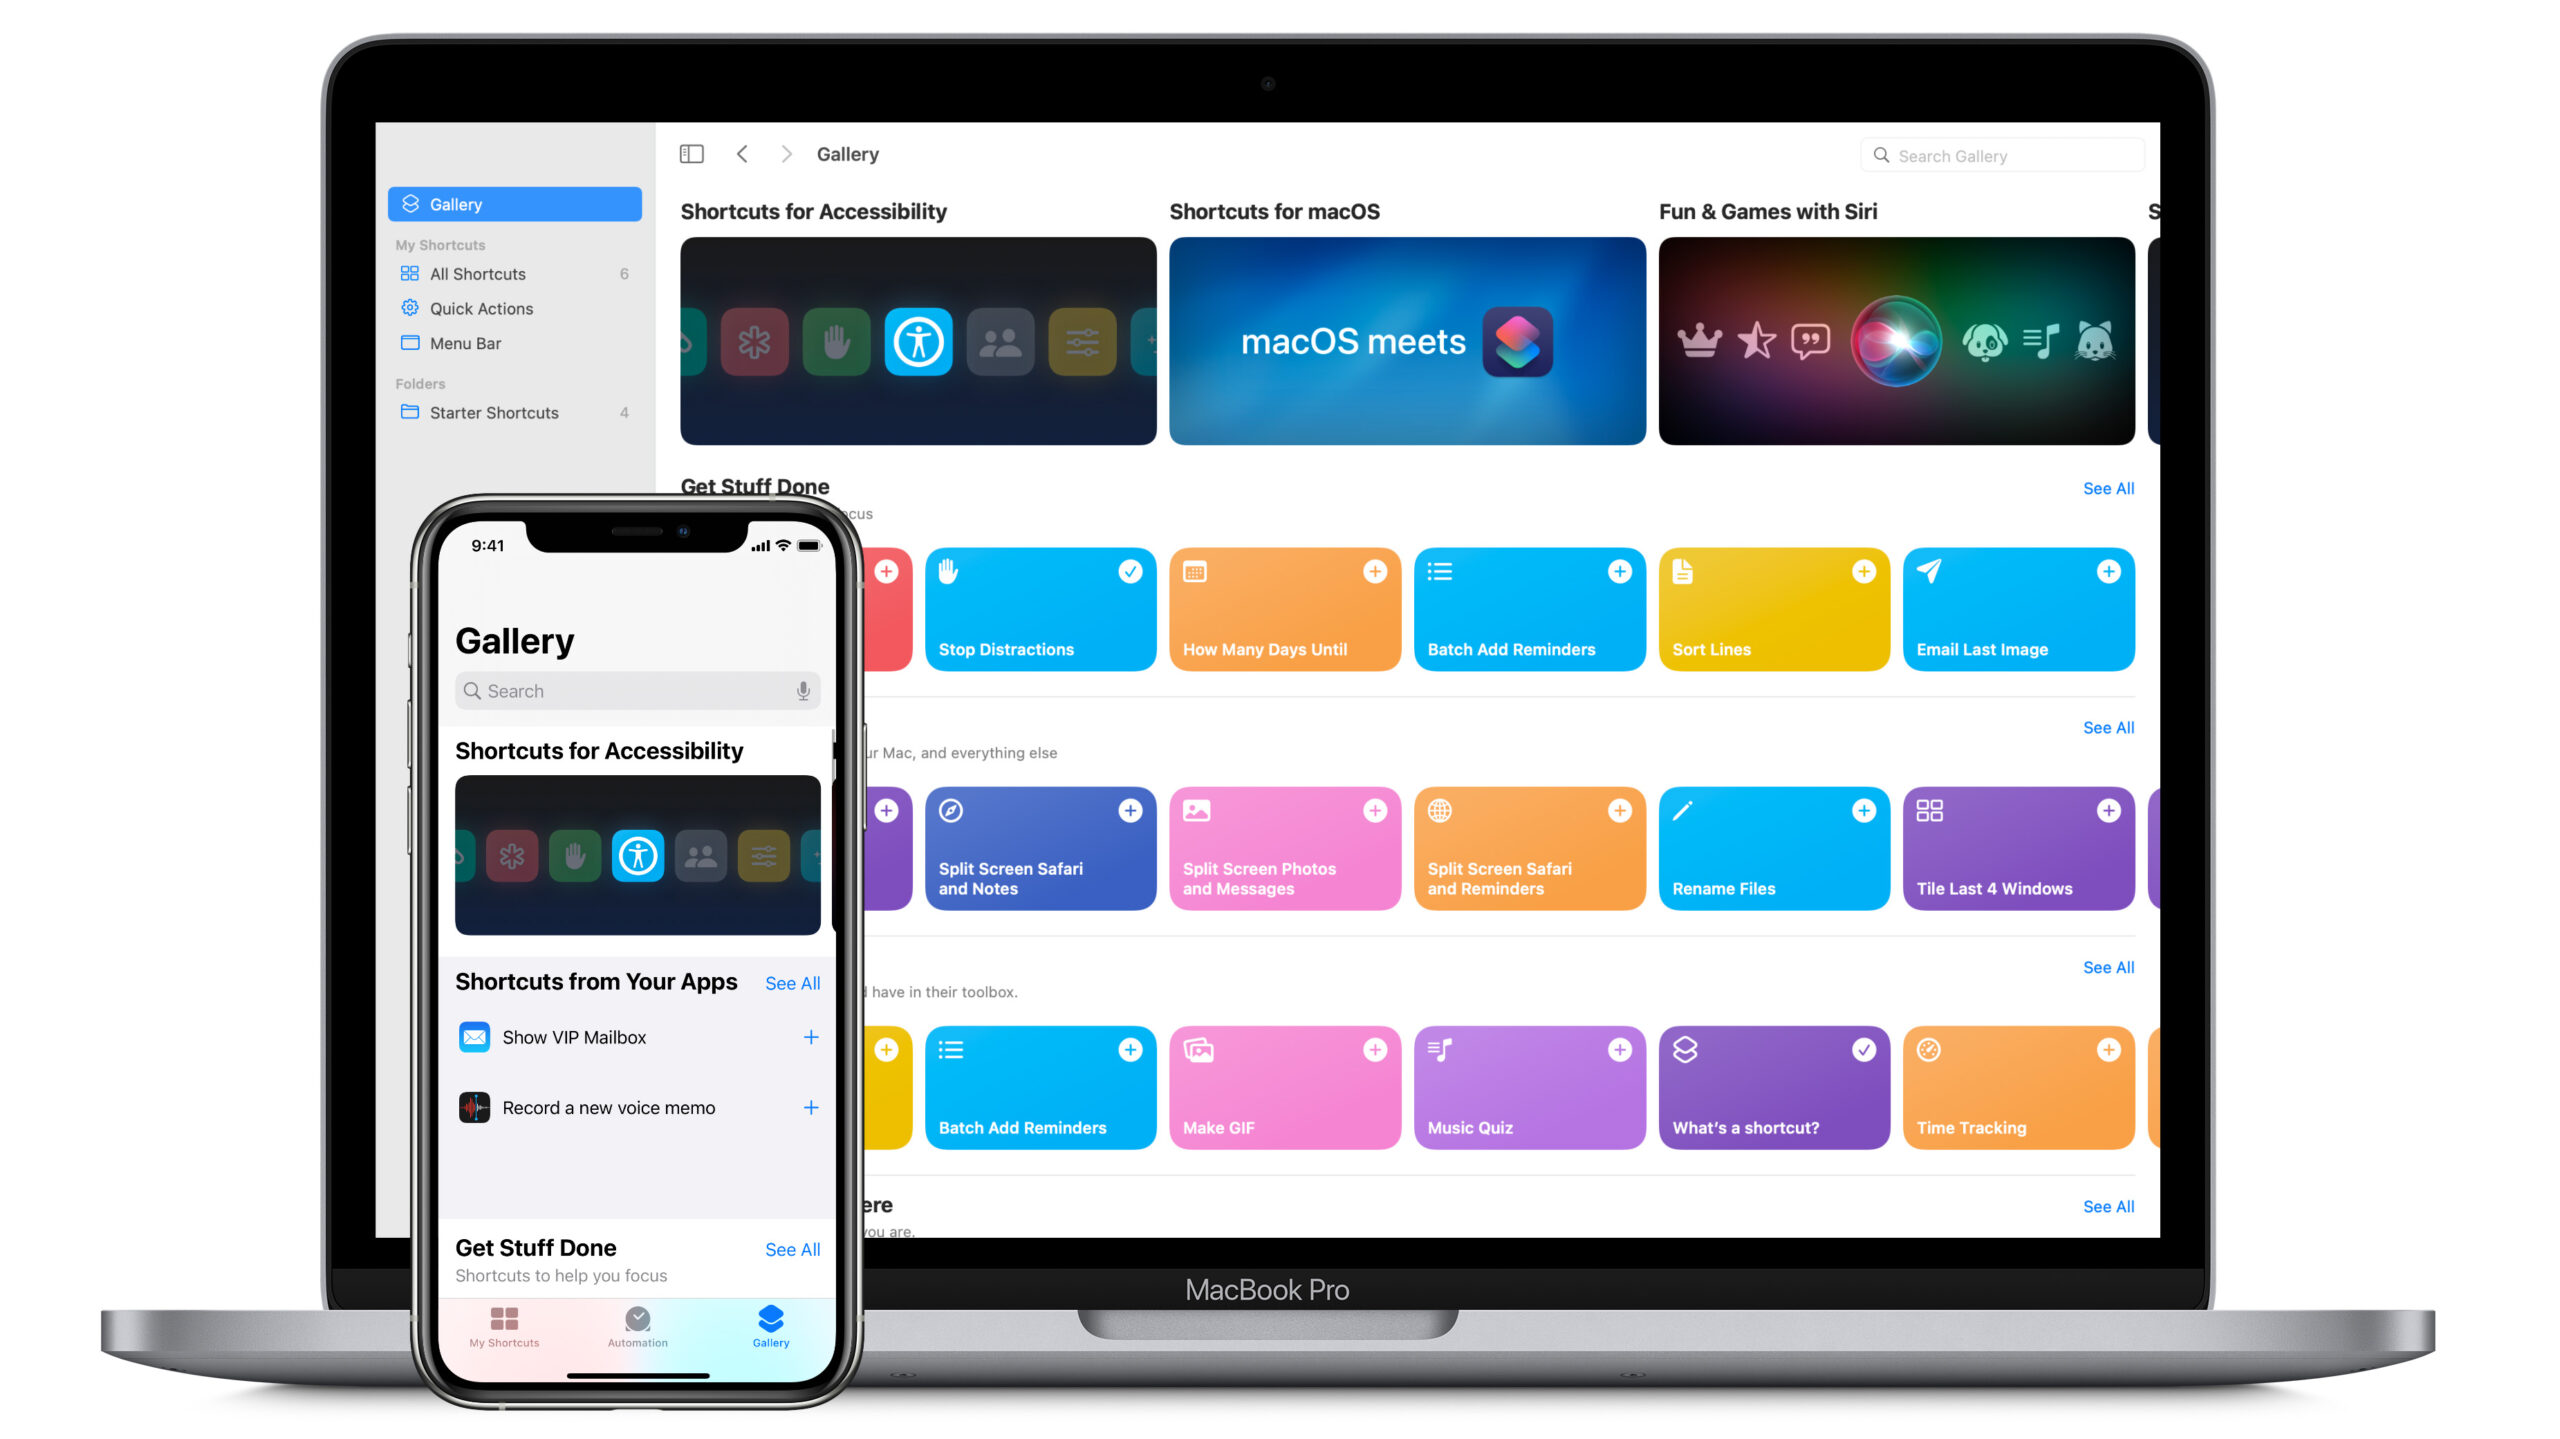
However, there are some great examples and resources to help get you started with your Shortcuts journey. Apple has a Shortcuts User Guide that you can explore to better understand what Shortcuts can do. Tap on Gallery in the Shortcuts app on your iPhone, iPad, or Mac, and you’ll find a whole collection of Siri Shortcuts premade by Apple.
David Sparks, aka MacSparky, has two excellent Field Guides covering Shortcuts on Mac and iOS. Matthew Cassinelli once worked on the original Workflow app and later for Apple. He put together an impressive library of over 600 Siri Shortcuts for people to check out and download.
For all the latest Technology News Click Here
For the latest news and updates, follow us on Google News.
