How to automount volumes for Docker containers
Looking to add persistent storage for your Docker container deployments? Jack Wallen shows you how, by way of a WordPress example.
Image: o_m/Shutterstock
There are so many reasons you want to use volumes for your container deployments. The primary reason is to ensure persistent storage. Say, for example, you’re deploying a WordPress instance via a Docker container. Not only do you want to give that container enough storage space to house all of the data it will require (especially as it scales), you want to make sure that data remains in play, even after the container is stopped or restarted. For that, you would use volumes.
SEE: Kubernetes: A cheat sheet (free PDF) (TechRepublic)
But what happens when you do eventually restart that Docker container? Will the volume housing the data still be there when the container comes back up? Let’s walk through the steps for creating and using a volume such that it will always be there for your Docker container deployment.
What you’ll need
To make this work, you’ll need a machine with a running instance of the Docker engine. I’ll be demonstrating on Ubuntu Server 20.04, but it doesn’t matter the platform, so long as Docker is working properly.
How to create the volume
The first thing we’re going to do is create the directory that will house the data for a WordPress container. We’ll call this directory wp-data and create the directory with the command:
sudo mkdir /mnt/wp-data
How to deploy the containers
In order to do this right, let’s first install Docker Compose. Do this with the command:
sudo curl -L "https://github.com/docker/compose/releases/download/1.29.2/docker-compose-$(uname -s)-$(uname -m)" -o /usr/local/bin/docker-compose
Make sure to visit the Docker Compose download page to ensure you’re downloading the latest version of the binary.
Give the newly-downloaded binary the proper permissions with the command:
sudo chmod +x /usr/local/bin/docker-compose
What we’ll do now is create a docker-compose.yml file and create the necessary manifest for a WordPress container deployment. Create this file with the command:
nano docker-compose.yml
In that file, paste the following:
version: '3.3'

services:
   db:
     image: mysql:5.7
     volumes:
       - /mnt/wp-data:/var/lib/mysql
     restart: always
     environment:
       MYSQL_ROOT_PASSWORD: somewordpress
       MYSQL_DATABASE: wordpress
       MYSQL_USER: wordpress
       MYSQL_PASSWORD: wordpress

   wordpress:
     depends_on:
       - db
     image: wordpress:latest
     ports:
       - "8000:80"
     restart: always
     environment:
       WORDPRESS_DB_HOST: db:3306
       WORDPRESS_DB_USER: wordpress
       WORDPRESS_DB_PASSWORD: wordpress
       WORDPRESS_DB_NAME: wordpress
volumes:
    db_data: {}
Notice the lines:
volumes:
       - /mnt/wp-data:/var/lib/mysql
That is where we’ve defined our volumes for the container.
Save and close the file.
Deploy the Nextcloud container with the command:
docker-compose up -d
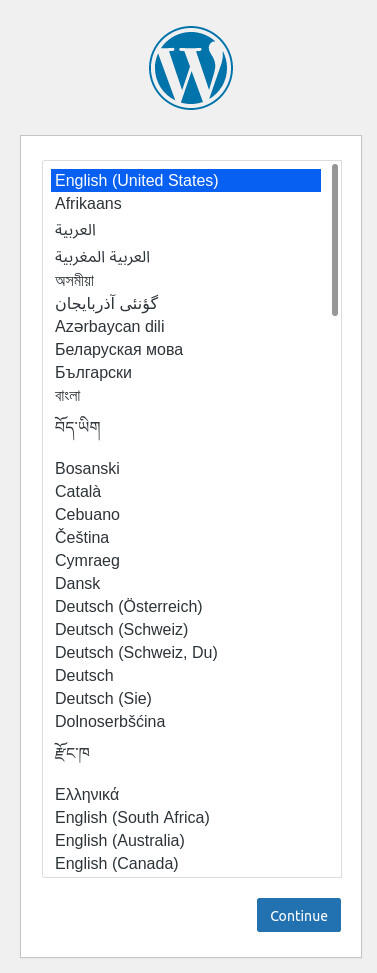
Give the container time to deploy and, once it has, visit http://SERVER:8000 (where SERVER is the IP address of the hosting server) and you should be directed to the WordPress setup (Figure A).
Figure A

The WordPress setup is ready for you to complete the task.
Now, if you log back into your server and issue the command ls /mnt/wp-data, you should see that directory has been populated with files and sub-directories. If you stop that running container (using the command docker stop CONTAINERID – where CONTAINERID is the ID of our new container), you can then restart it (with the docker-compose up -d command), and everything should be exactly as you left it. Why? Because we’ve created persistent volumes that automount upon a container restart. Using volumes this way not only ensures your data directories are always available for your containers, but it also serves as a sort of automount feature, every time you re-deploy the container.
Subscribe to TechRepublic’s How To Make Tech Work on YouTube for all the latest tech advice for business pros from Jack Wallen.
Also see
For all the latest Technology News Click Here
For the latest news and updates, follow us on Google News.

