

With the self-hosted Passbolt password manager, you must configure an SMTP server to use the collaboration features. Learn how to do it.
The Passbolt password manager is designed for teams. If you opt for a hosted plan, you get everything built-in and configured for you; however, if you go with the self-hosted version of Passbolt, you will have to configure some features to work properly.
For example, if you want to use the collaboration features, you must configure an SMTP server. Without an SMTP server configured, you won’t be able to share vault items with team members for collaboration, and the system will not be able to send user confirmation emails.
In other words, to get the most out of your self-hosted instance of Passbolt, you really should configure an SMTP server. I will show you how.
SEE: Manage logins for your team using these password managers (TechRepublic)
What need to configure the Passbolt SMTP server
You’ll need a running instance of the Passbolt self-hosted password manager, an admin account and an SMTP server. I’ll demonstrate this process using Gmail’s SMTP server because everyone has access to that service.
How to configure SMTP for Passbolt
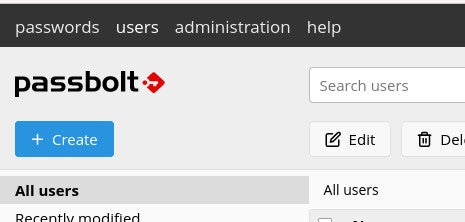
First, log in to your self-hosted instance of Passbolt and then click the Administration tab at the top of the window (Figure A).
Figure A
In the resulting window, click Email Server in the left navigation. You will be presented with the Passbolt Email Server configuration window (Figure B).
Figure B
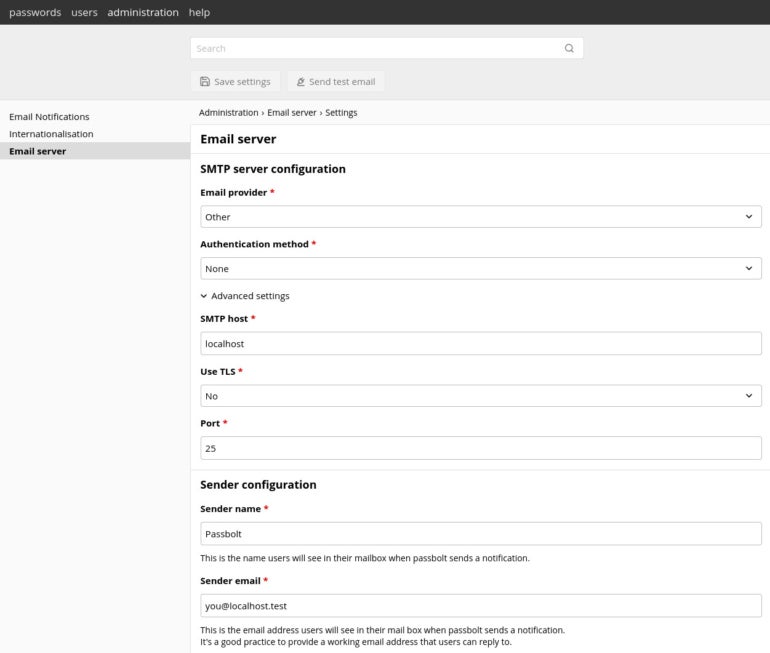
From the Email provider drop-down, select Gmail. From the Authentication method, select Username & Password. Type your Gmail address as the username and paste an app password in the Password field.
If you’ve never created a Gmail app password, all you have to do is go to the Security section of your Google Account, click App Passwords and create a new password. Copy that new password and paste it into the Password section in the SMTP configuration window. You can configure a sender name and sender email address.
After completing the configuration, click Save Settings. Next, you should send a test email. To do that, click Send Test Email at the top of the window, type a recipient email address for the test and click Send.
If the test fails, go back to the SMTP settings and expand the Advanced section. In the SMTP host, change smtp-relay.gmail.com to smtp.gmail.com and click Save. Try to send another test, and it should succeed this time. If you receive the test email, you can close the Email Server settings window and start using all of the features of Passbolt.
Team collaboration with Passbolt
Although Passbolt is a great individual password manager solution, it was designed for more collaborative purposes. With the configuration of an email server complete, you’ll be able to enjoy the power of groups and vault item sharing.
Another great security resource is the Password Management Policy from TechRepublic Premium.
Subscribe to TechRepublic’s How To Make Tech Work on YouTube for all the latest tech advice for business pros from Jack Wallen.
For all the latest Technology News Click Here
For the latest news and updates, follow us on Google News.