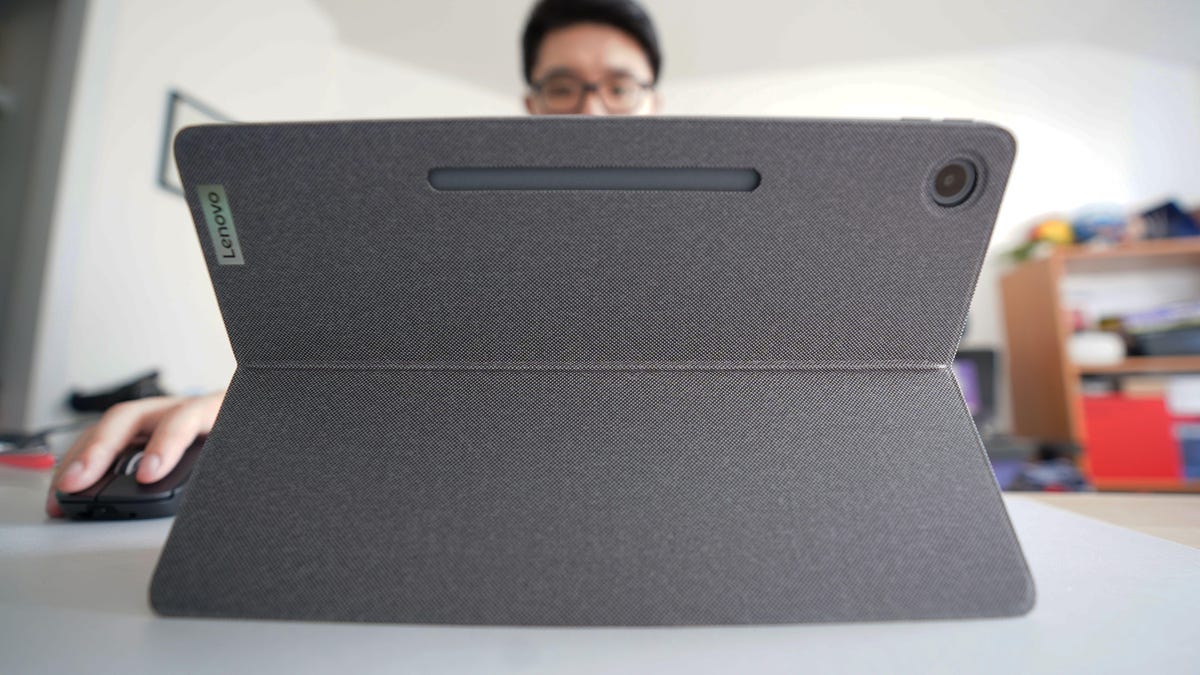
The Chromebook has evolved way beyond its original intent. No longer just a “browser in a box,” ChromeOS easily functions as a full-fledged operating system that can do nearly everything you need. Case in point, adding a printer to Chromebook is much easier than you think.
Also: The best printers right now
Now, there is a caveat to this. Your best bet for successful printing from ChromeOS is to add a printer that is attached to another machine on your network and shared out. So if you have a Linux, macOS, or Windows desktop, attach your printer to that machine and share it to your network. Once you’ve done that, adding the printer to your Chromebook is as simple as it gets.
Let me show you how.
Requirements
In order to successfully add a printer to your Chromebook, you’ll need the following:
- A Chromebook.
- A printer that is attached to a machine on your LAN.
- That printer that is shared from the hosting OS.
- Both the Chromebook and the machine hosting the printer must be on the same network.
- The IP address of the machine to which the printer is attached.
Once you have all of those things in place, it’s time to add the printer to your Chromebook.
Also: How I revived three ancient computers with ChromeOS Flex
Adding a network printer to a Chromebook
Log in to your Chromebook and open the Settings app from either the gear icon in the notification popup or from the Launcher.
When the Settings app opens, type printer in the search field to reveal the Printers section.
Printers are much easier to add in ChromeOS than you think. Screenshot: Jack Wallen/ZDNET
Click + associated with Add Printer. In the resulting window, click Printer Server at the bottom left corner.
We’ll be adding the printer from a print server. Screenshot: Jack Wallen/ZDNET
In the next popup, type the IP address of the machine the printer is attached and click Add.
To locate the printer, type the IP address of the machine hosting the printer. Screenshot: Jack Wallen/ZDNET
ChromeOS will automatically locate the printer connected to the server and list it in the Add Printer window. Locate the printer you want to add and click Save to complete the process.
To finish up the process, click Save. Screenshot: Jack Wallen/ZDNET
Your printer has been successfully added to your Chromebook. If there’s more than one printer found on your server, you can always save as many as you like. For example, you might have a monochrome laser and a color printer associated with your server. Add them both and then print to whichever one you need.
Also: 5 reasons Chromebooks are the perfect laptop (for most users)
With your printer added to ChromeOS, you can print to it as if it was connected directly to your laptop. Congratulations on expanding the usability of your Chromebook.
For all the latest Technology News Click Here
For the latest news and updates, follow us on Google News.

