How to create a mind map in Taskade
A mind map is a great tool for gathering and making sense of ideas. Find out how to add this view in the Taskade task management application.
Sometimes thoughts come at me like they were tossed out of a tornado. When that happens, the usual project management tools are of no help. Why? Because those thoughts are often random and aren’t ready for public or team consumption.
SEE: Hiring kit: Project manager (TechRepublic Premium)
It’s during those periods that I need to lean into a mind map. If you’ve never experienced a mind map, consider it as such: A mind map is a free-flow diagram that is used to visually organize thoughts into a hierarchy that shows the relationship of each thought as it pertains to the whole. Mind maps are incredibly useful tools to help you get your thoughts in order.
Not all project or task management tools offer a mind map feature. Taskade happens to be one service that does offer the mind map feature, and I want to show you how to add this view to your workspace.
What you’ll need to add a mind map to Taskade
The only things you’ll need for this are a valid Taskade account and a previously created Workspace. You can use either a free or paid Taskade account, as the feature is available to both.
How to create a mind map in Taskade
One thing to consider with mind maps is that they are either created from your existing Project Board, or you can create one with sample elements. The only way to create an empty mind map is to create a new project, from which you can then begin building your mind map.
In other words, if you add a mind map view for an existing project, it will be automatically populated with the cards from your board.
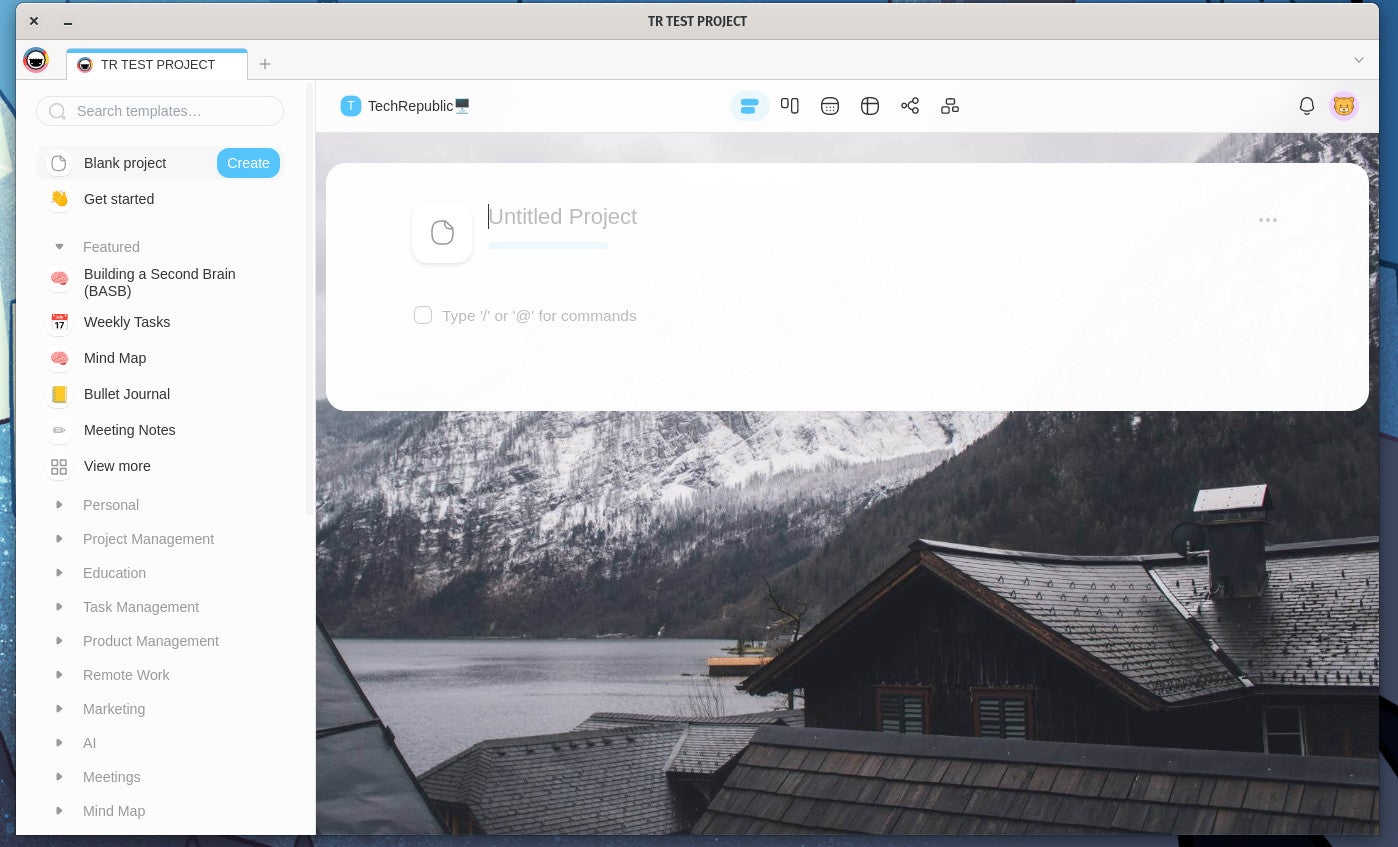
I want to show you how to create an empty mind map. To do this, open the Taskade app and select the Workspace you want to use. Once in the workspace, click + New Project (Figure A).
Figure A
You will be prompted to name the new project (Figure B).
Figure B

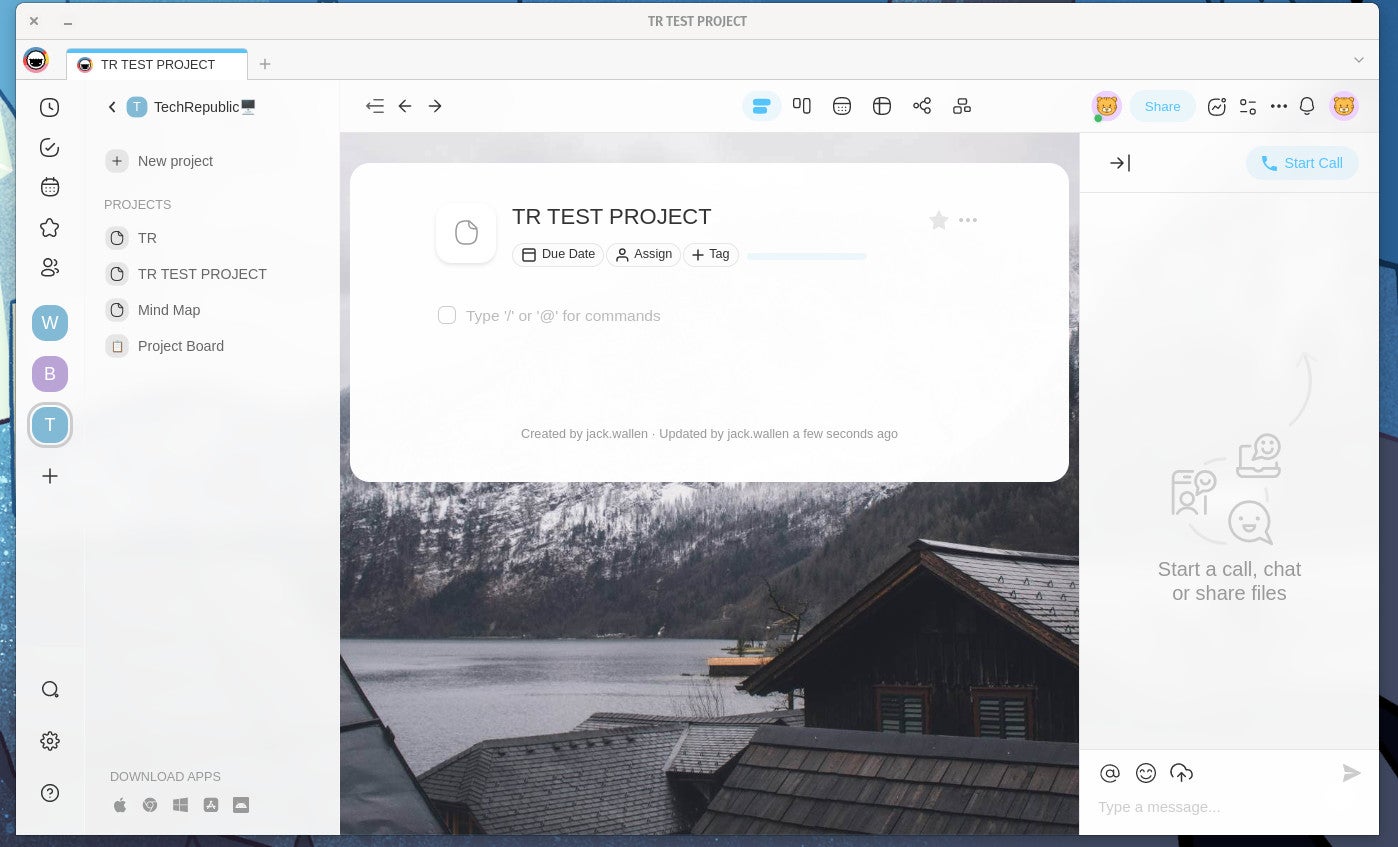
Give the project a name, and then, click the Mind Map icon in the top center toolbar (Figure C).
Figure C

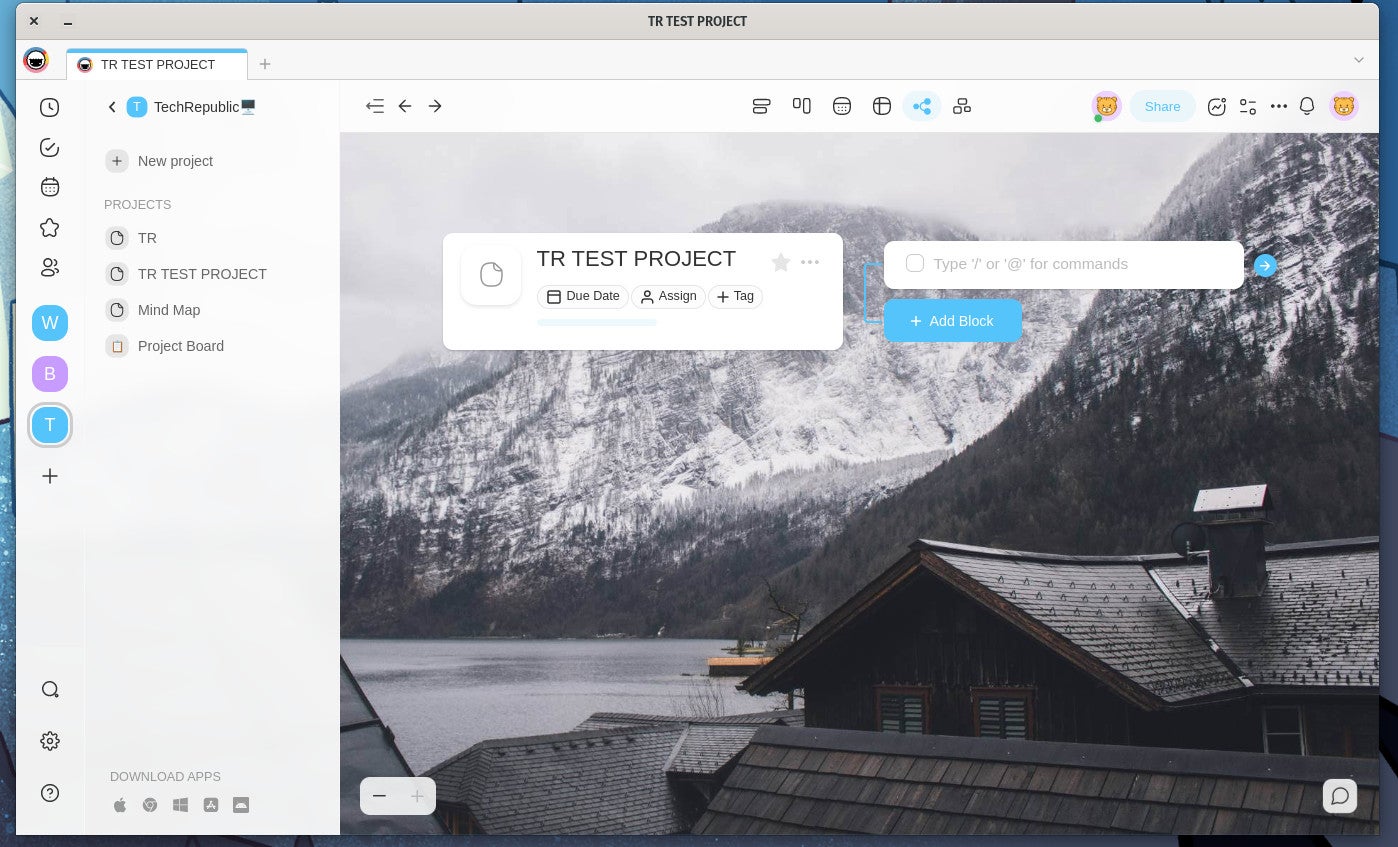
Once you click the Mind Map view, you will see the first card you created, which includes the project name and a button labeled + Add Block (Figure D).
Figure D

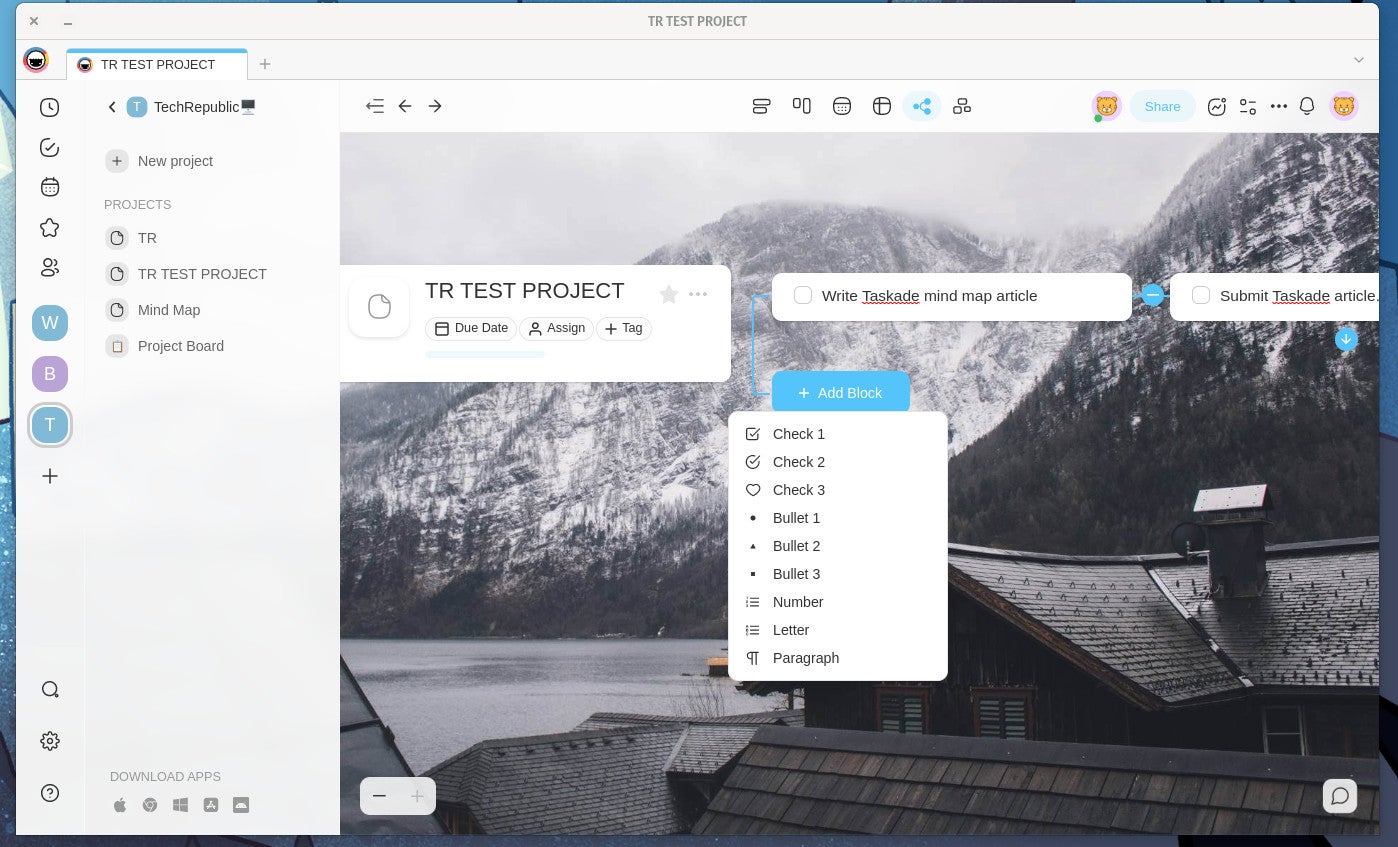
The first thing you’ll do is add content to the first block in white. Once you’ve done that, click either the blue right-pointing arrow to add another block in relation to the first, or click Add Block to create a new block, which can be in the form of a checklist, a bulleted list, a numbered list or a paragraph (Figure E).
Figure E

Continue building your mind map until you’re satisfied. You can build it out as large and complex as you like. When you’re done, you can share it and even view the mind map as a board, list, calendar, or action.
A powerful view for powerful thoughts
Thoughts have power and sometimes require a view that isn’t quite as structured as kanban, list, or calendar views offer. When you’re trying to gather those powerful or creative thoughts, the mind map is an outstanding method that can help you begin the process of planning and/or mapping out your projects.
Subscribe to TechRepublic’s How To Make Tech Work on YouTube for all the latest tech advice for business pros from Jack Wallen.
For all the latest Technology News Click Here
For the latest news and updates, follow us on Google News.
