How to create a new project in the self-hosted version of Orangescrum
Learn how to create your first project in Orangescrum so you can start managing the PM tool with ease.
Now that you have a self-hosted instance of the project management platform Orangescrum up and running, the first thing you’ll want to do is create a project. After all, what is a project management tool without projects?
The first steps you’ll take when integrating new users to Orangescrum are:
- Creating a project.
- Inviting users to your new project.
- Creating a task.
We’re going to walk through these steps, so you can focus on managing these projects in order for them to be completed in a timely and efficient manner.
SEE: Hiring kit: Project manager (TechRepublic Premium)
Jump to:
What you need to create a project in Orangescrum
You need to have a self-hosted instance of Orangescrum running on your data center, stand-alone server or third-party cloud host — wherever it’s running, the process is the same.
How to create your first project in Orangescrum
With the self-hosted instance of Orangescrum ready, open a web browser and point it to http://SERVER:PORT/onboarding, where SERVER is the IP address or domain name of the hosting server and PORT is the port you assigned in the Docker deployment command.
In my instance, I used port 8000, and it’s running on a server at IP address 192.168.1.60, so the address would be http://192.168.1.60:8000/onboarding.
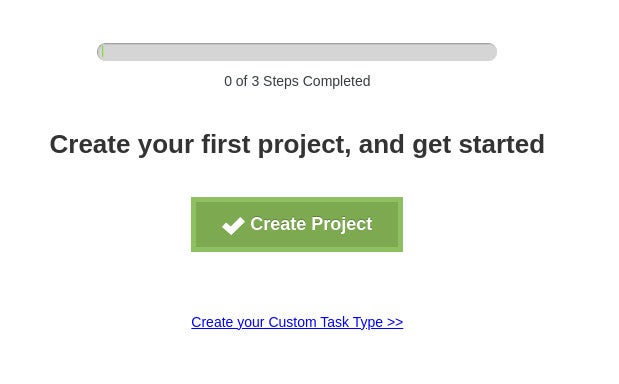
When you reach that page, click Create Project (Figure A).
Figure A
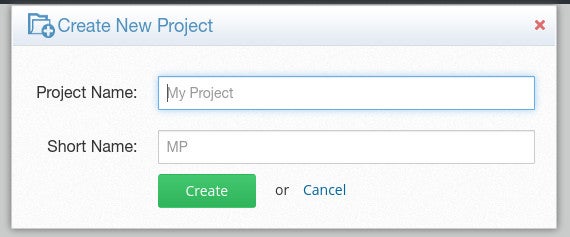
In the resulting pop-up (Figure B), give the project a name and a short name, and then click Create.
Figure B
You will be taken back to the onboarding page, where you can invite users.
How to invite users to your project in Orangescrum
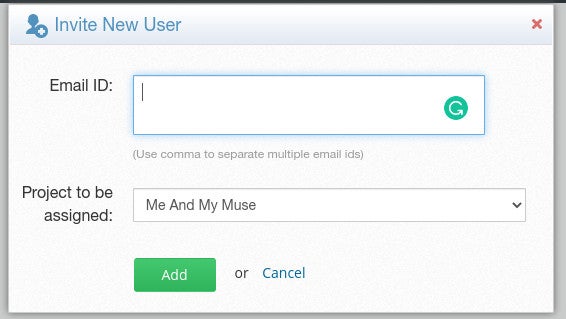
Click Invite User. In the resulting pop-up (Figure C), type the email address for the new user, select the new project you just created in the Project To Be Assigned and click Add.
Figure C
The user will receive an email invite with a clickable link that will finish the process.
How to create and assign a task in Orangescrum
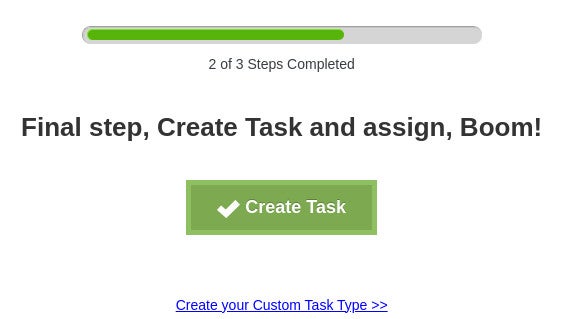
Once again, you’ll be taken back to the onboarding window where you’ll need to click Create Task (Figure D).
Figure D
In the next pop-up (Figure E), give the task a name, assign it to a user, select a due date, configure the priority and select who would be notified.
Figure E

If you click More Options, you can add a task type, milestone, description, estimated hours, hours spent and attachments (Figure F).
Figure F
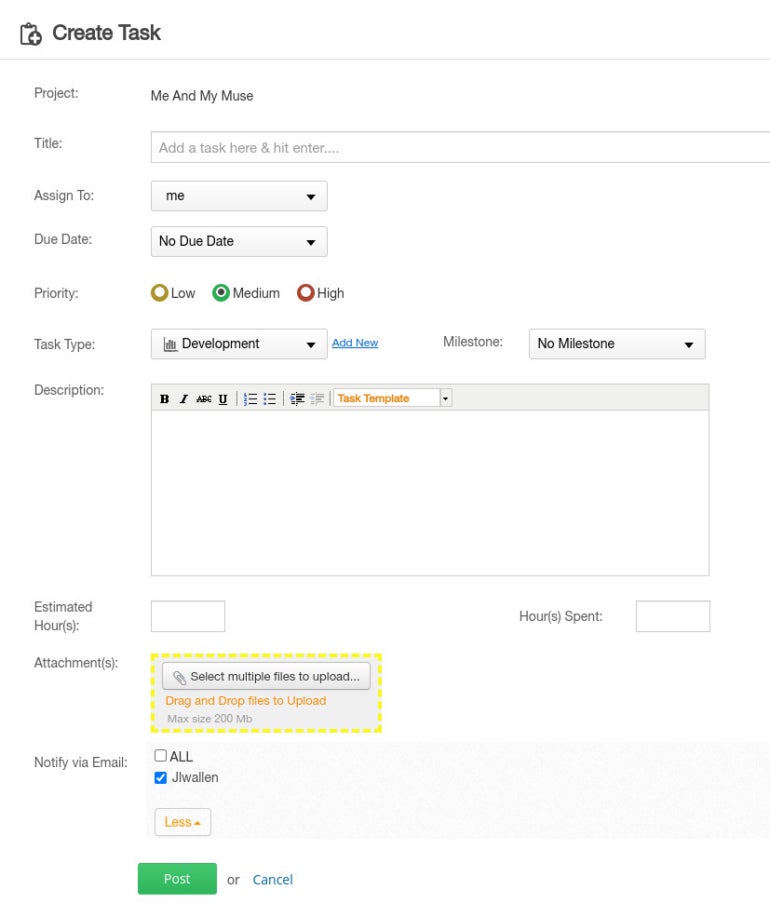
Click Post, and your task is saved. You’ll be taken back to the onboarding window, which will automatically refresh and land you on the new task you created in your new project (Figure G).
Figure G

Start managing your project in Orangescrum
Now that you’ve created your first project in Orangescrum, invited users and added a task, it’s time to start managing that project. You can take advantage of all the features in the self-hosted instance of Orangescrum, which should be plenty.
Be sure to read my additional TechRepublic tutorials about Orangescrum: How to create an Orangescrum Project Plan, How to create an Orangescrum Task Group, How to create an Orangescrum Role Group for granular access to project management tools and How to use the Orangescrum bug-tracking feature.
Subscribe to TechRepublic’s How To Make Tech Work on YouTube for all the latest tech advice for business pros from Jack Wallen.
For all the latest Technology News Click Here
For the latest news and updates, follow us on Google News.
