How to get directions from Google Maps on Apple Watch
Google Maps is the go-to navigation app for a large chunk of smartphone users. However, Google Maps can be accessed on smartwatches, including Apple Watch as well. You can also navigate to existing shortcuts, get step-by-step directions, and get the current ETA for your commute on Apple Watch. You won’t have to glance at your phone as well as the directions come right on your wrist. Wondering how you can get directions from Google Maps directly on the Apple Watch?
Things to know about using Google Maps on Apple Watch
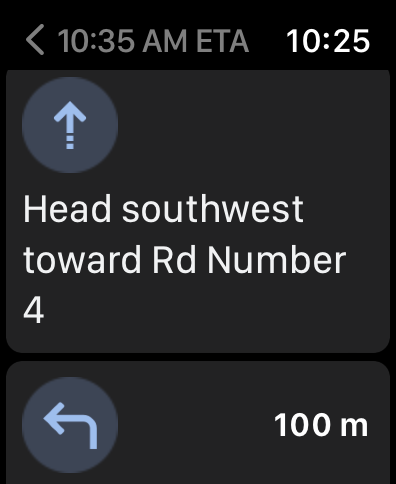
You should know that you can’t enter a new location on the Apple Watch directly. You will have to use your iPhone for doing that. Once you have done that, you can follow the directions on the Apple Watch. There’s no map to see on the Apple Watch screen, instead, you will see distances, turn-by-turn instructions, drive time and a turn-direction arrow. All this is done via haptic feedback.
There’s a Google Maps app for the Watch where you can access directions to saved locations. You can create these shortcuts if you don’t want to use your iPhone to search for directions to saved places. This comes in real handy if you are walking around and not driving.
Pre-requisites:
To use Google Maps on your Apple Watch, make sure your devices have:
- WatchOS 5 or greater
- iOS 10 or greater
- Bluetooth enabled
First things first, to use Google Maps on your Apple Watch, you will need to turn on Turn on location services and that too always on. Here’s how you can do that: On your iPhone, tap Settings>Privacy>Location Services> Google Maps. Then Tap Only While Using the App or Always Allow.
If you want to get directions for a ‘saved’ destination, follow these steps:
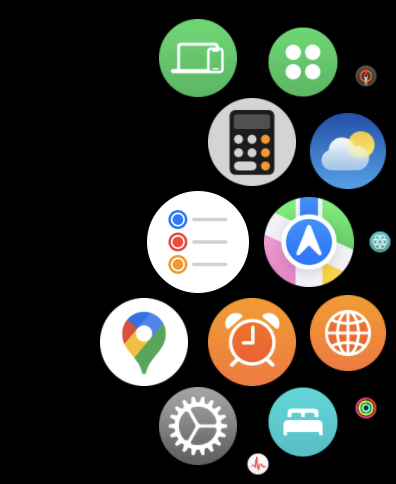
On your Apple Watch, open the Google Maps app
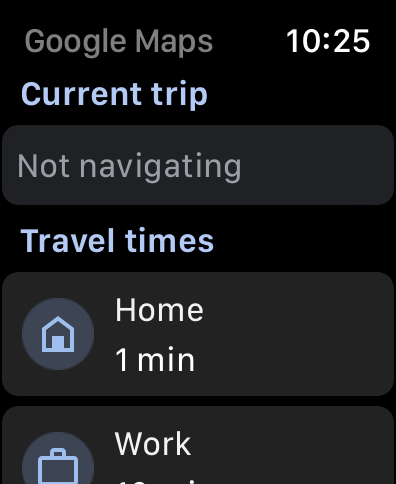
Tap a shortcut (Home or Work)
You’ll get step-by-step directions on your watch.
If you want to get directions to a new destination, follow these steps:
On your iPhone, open the Google Maps app
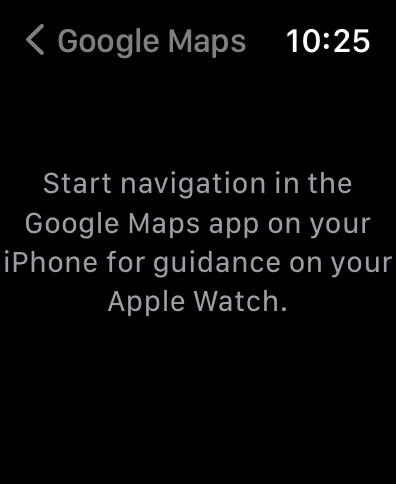
Then on your Apple Watch, open the Google Maps app
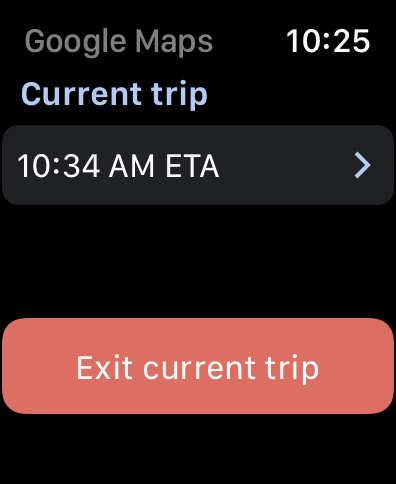
Under “Current trip” tap the ETA
FacebookTwitterLinkedin
For all the latest Technology News Click Here
For the latest news and updates, follow us on Google News.
