


Apple is launching the public beta for macOS Ventura today. This is the next big update coming to Mac computers (the final version is expected later in 2022), and it brings several big changes. In this article, we’re going to walk you through how to get the beta onto your computer, should you want it. Once you install the beta, it will likely receive several updates between now and the final release.
(Looking for steps to install the iOS 16 and iPadOS 16 public betas? We’ve got you covered here.)
What’s new about macOS Ventura?
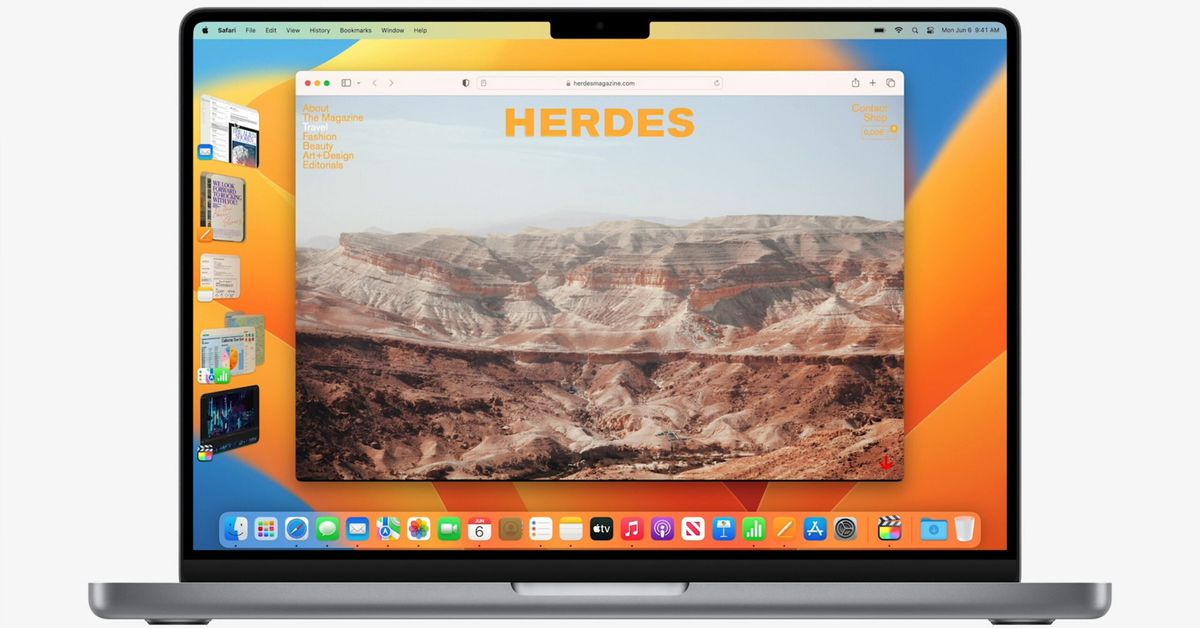
Ventura’s standout feature is the Stage Manager, which is a way to organize your windows by grouping them and switching between sets of apps. Stage Manager should also do some automatic organization when you enable it.
The update also includes a few revamps to core macOS experiences. For example, System Preferences has been completely overhauled and renamed to System Settings, there’s a feature called Passkeys that’s meant to get rid of passwords on the web, and Spotlight is getting a host of new capabilities. Aside from that, there are the fun features; you’ll be able to use your iPhone as a webcam (if it’s also updated to iOS 16), edit iMessages shortly after sending them, and share your iCloud Photo Library with your family.
You can read our full roundup of macOS Ventura features here.
What devices are supported for macOS Ventura?
Apple has said that Ventura won’t support several Mac models that run Monterey, so it’s a good idea to check if your computer is compatible before putting in the work of downloading the beta. Here’s the list of Ventura-compatible Macs:
If your Mac is on the older side, it’s worth noting that it won’t necessarily get every feature — for example, Live Captions are Apple Silicon-exclusive. To check if you have an Apple or Intel chip, you can go to the Apple menu in the top left and click About This Mac.
How to install the macOS Ventura beta
First off, back up your data via Time Machine. This will allow you to revert to Monterey should things not go well with the Ventura beta. If you’re planning to install this beta on your main machine, keep in mind that you may encounter problems (bugs, incompatibility issues, worse-than-usual battery life) that might get in your way — not what you want if you’re on any kind of deadline. Also, make sure that you have around 20GB of free space available on your storage drive before trying to install.
There’s a way to avoid some of this possible drama. If you’re using a machine with macOS High Sierra or later, you can use built-in tools to partition your storage drive so the beta can live in isolation. This way, you can test out the new features, then boot into your stable macOS partition with the rest of your data when you’re done. We’ll walk through that later.
But first, we’ll assume that you’re going to do a straightforward install. Let’s get started.
- Head to Apple’s beta software portal via Safari.
- If you haven’t previously installed a public beta, you’ll need to sign up for access with your Apple ID. Otherwise, click Enroll Your Devices at the top-right corner of the webpage.
- Click macOS, the middle option at the center of the next page.
- Scroll down until you find a button that says Download the macOS Public Beta Access Utility. Click on it to download a .DMG file, then run the .PKG file in the image to sign up to receive beta updates.
- Upon booting the installer, you’ll be prompted if it doesn’t detect a Time Machine backup. (You did make a backup, right? Like I suggested above?)
- Lastly, head to Software Update from the System Preferences app (if it doesn’t open automatically) to install the beta. If you’re enrolled in the beta program, you should see the message “This Mac is enrolled in the Apple Beta Software Program” located underneath the big Software Update icon. Note: the download might not be available to you immediately. You’ll receive a notification once it is.
- The update file will take a while to download. Once it’s done, hit Install and run through the steps.
How to create a separate partition
- Open Disk Utility (a built-in app you can find by typing its name into the Spotlight search bar). Your hard drive’s partitions will be listed under Internal along the left side of the window. You might only see one.

:no_upscale()/cdn.vox-cdn.com/uploads/chorus_asset/file/22693724/Screen_Shot_2021_07_01_at_12.22.36_PM.png)
- If you’re using a machine with macOS High Sierra or newer, clicking your main partition should reveal that it’s an APFS Volume. If so, you can then simply click the plus button above the word Volume at the top-left corner of the Disk Utility window to make a new volume.
- You can name the volume anything you want, then hit Add. Since storage formatted to APFS is shared across volumes, there’s no need to worry about how much space to set aside in the new volume when you create it.
- Note: If your machine’s drive is formatted to Mac OS Extended instead of APFS, you can select the Partition button near the top of the Disk Utility window instead. You’ll need to name the partition, then decide how much storage you’d like to have on that slice of hard drive. Given that previous public betas have been over 10GB in size, I’d suggest at least 30GB to be safe.
- Now that you have another volume (or partition), you can choose to install the beta to that instead of your main drive.
How you boot into the beta partition depends on what kind of Mac you have. If you have an Intel Mac, you can press and hold the Option key while booting it up to get to the startup disk selector. On an Apple Silicon Mac, you simply have to press and hold the power button while turning the computer on to get to the screen.
If you want your computer to boot into the beta version by default, you can go to System Preferences > Startup Disk and then click the lock icon in the lower-left corner. After you input your password or use TouchID, you can select your beta partition and click Restart.

:no_upscale()/cdn.vox-cdn.com/uploads/chorus_asset/file/23759868/Screenshot_2022_07_11_at_10.45.11.png)
How to install the macOS Ventura beta on an external drive
If you don’t have room to create a partition big enough to hold an entire second OS, you may want to consider installing the beta on an external drive. Doing so is relatively simple, as long as you’re willing to use the whole drive.
With that said, following these instructions will erase everything on your external drive. Be sure that any data on it is backed up elsewhere. And be aware: while you can technically install the Ventura beta onto an external hard drive, you’ll get much better performance if you use a portable SSD.
- Plug in your external drive
- Open Disk Utility, and select the drive
- Click the Erase button, and select APFS from the Format dropdown
- After the disk has been erased, open the beta installer and select your external disk as the destination. You can boot into it using the instructions above, as long as the disk is plugged into your computer.
Advanced users may be able to partition their external drive following the instructions in the section above, but your ability to do so will depend on how your drive is set up.
If the installer tells you that macOS can’t be installed on your external drive, you may be able to follow Apple’s troubleshooting instructions to properly partition the drive.
For all the latest Technology News Click Here
For the latest news and updates, follow us on Google News.