How to set up your new computer
So you’ve got a new computer. Awesome! That humble metal box is the key to a wide world of potential. It can help you with everything from juggling your finances to keeping in touch with your family to blowing off some steam on, uh, Steam.
But a new PC isn’t like a new car; you can’t just turn a key and put the pedal to the metal. Okay, maybe you can—but you shouldn’t. Performing just a few simple activities when you first fire it up can help it be safer, faster, and better poised for the future. Here’s how to set up a new laptop or desktop computer the right way, step by step.
Run Windows Update on your new PC
The first step is by far the most tedious. You shouldn’t muck around on the web unless your copy of Windows is fully patched and up to date, period. Now for the bad news: Depending on how long your PC sat on the retail shelf, this could take minutes—or hours. Either way, it has to get done.
Microsoft releases new Windows patches at least once per month. The most recent “major” upgrade for the operating system came in the form of the ho-hum Windows 10 November 2021 Update; those larger “milestone” releases occurred twice per year in the past, but will slow to one per year in the future. Windows 11, on the other hand, just launched in October, so laptops with that installed should be pretty current. If your computer isn’t fully patched, you could be missing key security fixes and notable new features.
First, make sure your PC’s connected to the internet. In Windows 10, open the Start menu and head to Settings > Update and security > Check for Updates. Your system will search for updates, and find some. Download and install them, then reboot your computer and do it again… and again… and again… until the update check fails to return new entries. Hopefully it won’t take too long, but in worst-case scenarios updating a new computer can take an hour or more.
On the bright side, Windows will download and install new updates as they roll out in the future. You just have to get over this initial hump!
If your new laptop came with Windows 10 installed, you may see the option to upgrade to Windows 11. We recommend skipping Windows 11 for now. There’s not only a new interface to learn, but the fresh-out-of-the-oven operating system also has multiple rough edges and outright bugs in these early days. Feel free to read our exhaustive Windows 11 review and decide for yourself if it’s offered, though.
Install your favorite browser
Surfing the web in an unfamiliar browser is like trying to tango while you’re wearing someone else’s shoes. It can be done, but it ain’t pretty. Here are direct links for Chrome, Firefox, and Opera if Edge isn’t your thing.
Chrome has been our go-to pick for years, but the Chromium-based version of Microsoft’s Edge upset the long-time champion in our most recent round of web browser testing. Edge is the best browser you can use right now if you don’t mind breaking away from Chrome, and better yet, it’s Windows 10’s default. If your tastes lean more exotic, you could always dabble with one of these 10 obscure, highly specialized browsers, too.
Set up your new PC’s security
Now that you’ve slipped into something more comfortable, it’s time to get your security ducks in a row.
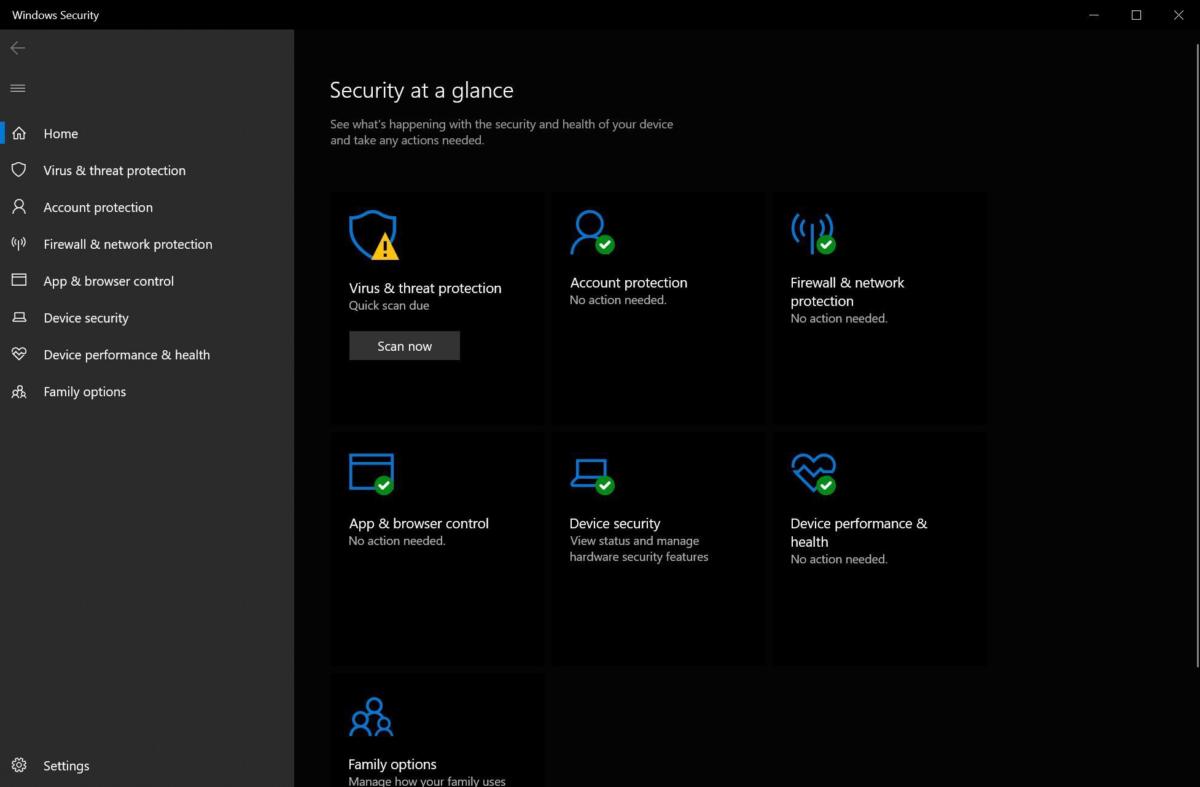
Windows ships with Windows Security enabled by default unless your laptop or desktop includes a third-party antivirus trial. Windows Security is a solid, if not overly detailed solution that’s dead-simple to use, great at sniffing out malware, and probably good enough for most people. It isn’t the most full-featured anti-malware solution out there, though. You can’t even schedule scans! PCWorld’s guide to the best antivirus for Windows PCs can help you find all the right tools to keep your PC protected.
We also have a guide to building a solid free security suite, but it takes more legwork and hassle than premium antivirus options.
Clean your computer’s bloatware
With your defenses up, it’s time to start shoveling the crap out of your PC.
You can skip this step if you built your own Windows PC. Straight Windows installations don’t come with excess junk cluttering up your hard drive. But boxed PCs from big-name PC makers are inevitably brimming with bloatware.
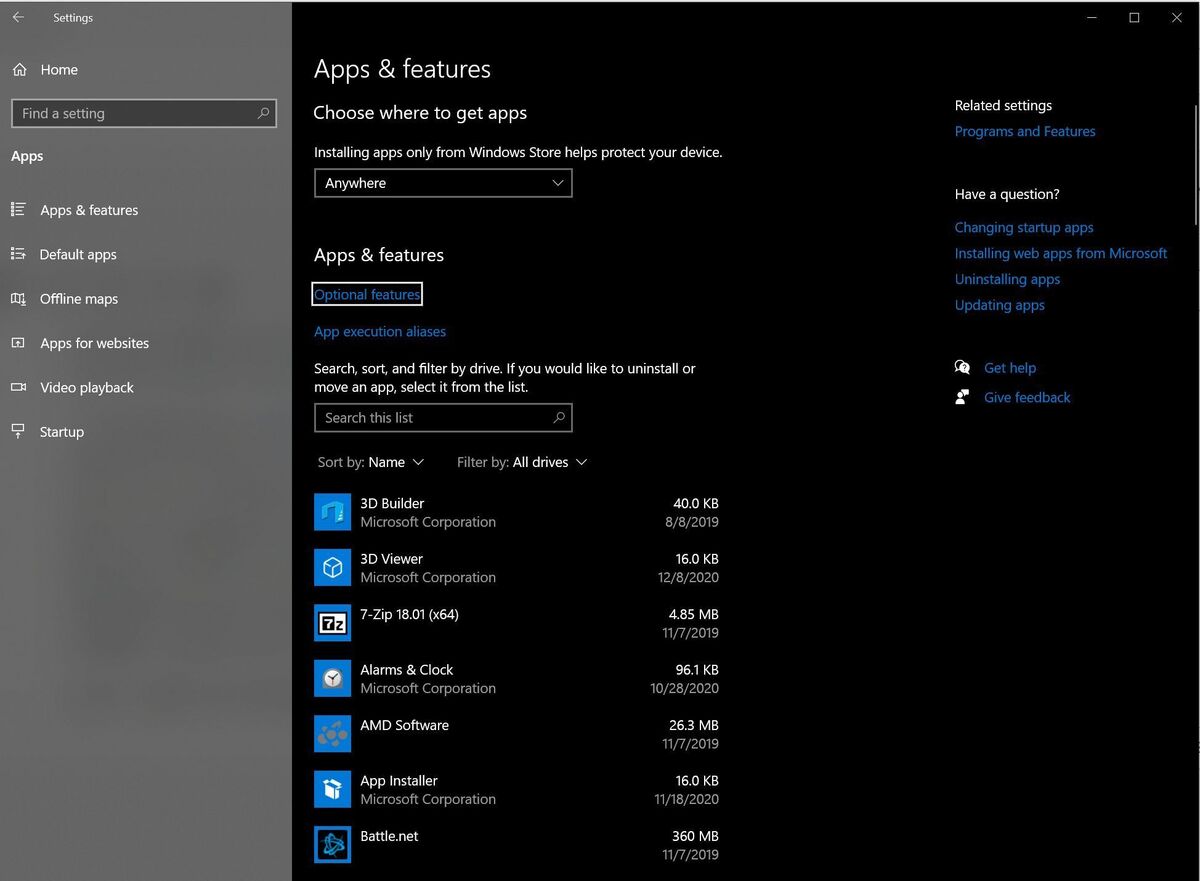
The easiest way to jettison the junk is by typing “Add and remove programs” into the Windows search box, then selecting the option that appears at the top of the results. Go through the list and uninstall any unwanted programs. Don’t delete apps from your hardware’s makers—leave software from the likes of Intel, AMD, Nvidia, Microsoft, and HP or Lenovo alone, for example—but feel free to wipe out any bundleware you see. Some of the most commonly preinstalled apps are antivirus trials, Dropbox, Candy Crush, Netflix, Spotify, “App Collections,” and others.
If you’d rather nuke everything from above, Microsoft also offers a downloadable tool that installs a clean copy of the most recent version of Windows 10 Home or Windows 10 Pro but without any apps that aren’t part of Microsoft’s default Windows 10 setup. It seriously doesn’t mess around, as Microsoft drives home in the tool’s description: “Using this tool will remove all apps that don’t come standard with Windows, including other Microsoft apps such as Office. It will also remove most pre-installed apps, including manufacturer apps, support apps, and drivers.”
This tool will wipe out any product keys or digital licenses associated with that software too, so if you want to keep some of the software being blasted away (like Office, say), be sure to jot down the product key before using Microsoft’s fresh-start tool, using something like Belarc Advisor to find it.
Fill your new computer with software
Why would you scrap all that junk and clutter? To make room for your own stuff, silly. New hardware just begs for software to match!
Outfitting your rig is an intensely personal affair, but if you’re looking for suggestions, PCWorld has a guide to the best free programs that are so helpful, so handy, so downright useful that they should be welcome on pretty much any PC. These review roundups and software guides can also direct you towards some of the best programs around:
Head towards Ninite when it comes time to actually install all that software. Ninite lets you install numerous free applications of your choice all at once, even going so far as to automatically disable the bundled crapware that many free programs try to sneak in as part of the installation process. It’s a wonderfully handy tool that takes the pain out of loading up a new PC.
If your new laptop came with Windows 11 preinstalled, you might be uncomfortable with its radical new Start menu and taskbar design. Consider checking out StartAllBack or Stardock’s Start11 if so. Both of these $5 programs help you reconfigure the look and feel of Windows 11 in ways the operating system itself doesn’t. You can have it back to feeling normal in no time.
Back up your new computer
After all that, your PC is finally ready to rock: It’s safe, up to date, scrubbed free of junk, and full of software fine-tuned to meet your specific needs. The end is in sight! But we’re not done juuuuuust yet.

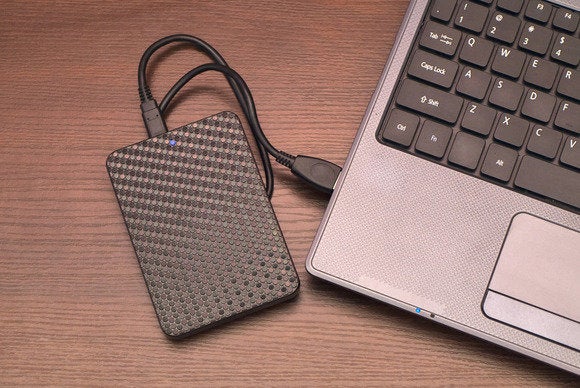
Now that your PC’s in fighting shape it’s an ideal time to create a clone or image of your primary hard drive—the one Windows boots from—and save it to another hard drive. A clone or image creates a snapshot replica of your drive, which you can use to boot up Windows if your primary drive gives up the ghost. Having an image of your system in its current updated, bloatware free, customized state prevents you from having to do all that legwork over again if you ever have to reinstall Windows for any reason.
So what’s the difference between a clone and an image? Essentially, a clone creates an exact copy of your hard drive on another drive—files, master boot record, and all. The clone consumes the entire hard drive, but it’s plug-and-play if you ever need to use it. Images, on the other hand, create a single, mammoth file containing all the stuff on your PC. It takes a bit more work to get an image backup ready to roll after a disaster, but you have more flexibility in how you store it, since it’s essentially just a great big file. Lincoln Spector has a more detailed comparison if you’re interested.
There are excellent backup tools available that let you create clones and images, which we cover in detail in PCWorld’s roundups of the best Windows backup software and best online backup services. Don’t want to pay for data protection? We’ve also rounded up the best free backup options, and if you don’t mind performing more technical gruntwork to save some cash, we explain how to use Windows’ native imaging tool step-by-step in PCWorld’s guide to creating a free, foolproof backup system. Use something though. Regular backups are your data’s only savior if disaster strikes.
Optional: Update your new PC’s drivers
This step isn’t for everyone. Few things can introduce troublesome ghosts in your machine faster than a driver that refuses to play nice for whatever reason. If your from-the-box desktop PC is working fine and you only ever plan to perform basic tasks like surfing the web, working with Office, and stuff like that, feel free to forget your computer even has drivers and keep on keeping on. Windows Update should’ve snagged reasonably new drivers for your hardware anyway.

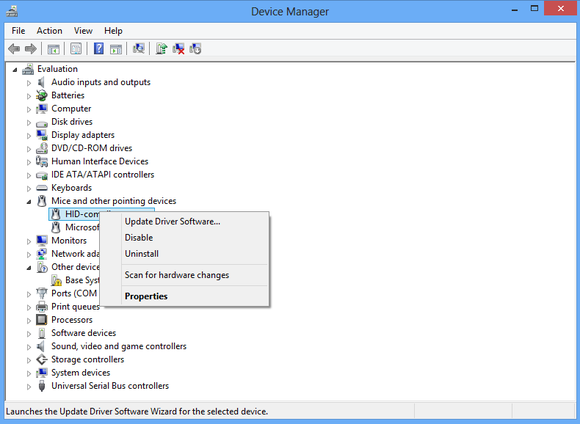
You’ll spend some time staring at the Device Manager if you built your own PC and need to update your drivers manually.
But if you cobbled together a DIY rig or are rocking a gaming machine, it’s a good idea to see if newer drivers are available for your hardware. Windows Update isn’t always on the bleeding edge of driver updates, and new drivers for, say, your motherboard or network card can provide beneficial feature and performance updates. Gamers will need to update their graphics card drivers fairly often to ensure optimal performance in the newest games. (Fortunately, you can do that easily using Nvidia and AMD’s must-have graphics suites, and they’ll let you know when new ones are available.)
PCWorld’s guide to updating your Windows drivers has all the info you need to proceed. It was written for Windows 8, but if you search for Device Manager in Windows 10 or 11, all of the same steps outlined in the article still apply. If a driver does somehow manage to bork your PC, fear not, as Windows automatically creates a System Restore Point when you install new device drivers.
And if true disaster strikes in some bizarre, extreme case, you’ve got the backup image you’ve created—right?
Optional: Learn about your new computer
Now that all the hard work is done, take time to learn all the nooks and crannies of Windows—there’s an awful lot of surprisingly powerful, downright helpful tools and tricks hidden in its depths. Check out PCWorld’s guide to the best Windows 10 tips, tools, and tricks, which we update with every major Windows update. You’ll pick up a lot of helpful knowledge. We’ve also got a roundup of Windows 11’s best hidden features.
Wrap-up
At this point you’re pretty much ready to roll. Sure, there are some other tasks you should perform, such as moving over files from your old PC and saving the product keys for Windows and your other installed software (again, Belarc Advisor rocks for that), but you can do all that at your leisure. For now, just bask in the glory of owning a new PC, secure in the knowledge that it’s fully optimized, protected against attack, and recoverable if disaster strikes.
Enjoy!
For all the latest Technology News Click Here
For the latest news and updates, follow us on Google News.


