
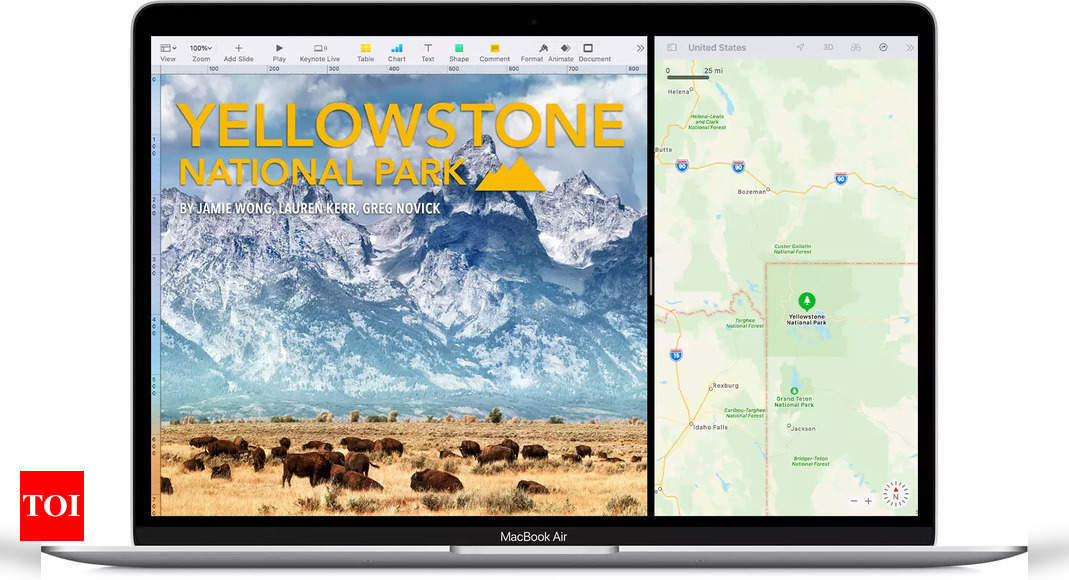
How does Split View work?
As the name suggests, a user can use two apps side by side. One can choose a window to work in by clicking anywhere in that window. If one wants to see the menu bar, then simply move the pointer of the top of the screen. Users have the option to swap window positions by dragging a window to the other side. One can switch to other apps or desktop with Mission Control, or use a Multi-Touch gesture such as swiping left or right with four fingers on the trackpad.
How to enable Split View on macOS Catalina or later version
Here are the steps one needs to follow to enable Split View on macOS Catalina or macOS Ventura:
- Hold the pointer over the full-screen button on the upper-left corner of a window. Or click and hold the button.
- Choose ”Tile Window to Left of Screen” or ”Tile Window to Right of Screen” from the menu. The window then fills that side of the screen.
- Then click a window on the other side of the screen to begin using both windows side by side.
How to enable Split View on macOS Mojave, High Sierra, Sierra, or El Capitan
- Click and hold the full-screen button in the upper-left corner of a window.
- As one holds the button, the window shrinks and it can be dragged to the left or right side of the screen.
- Release the button, then click a window on the other side of the screen to begin using both windows side by side.
What to do if Split View can’t be enabled?
In case one can’t enter Split View, here are the steps that needs to be followed.
If a user is on In macOS Ventura or later, choose Apple menu > System Settings, click Desktop & Dock in the sidebar, then scroll down on the right and make sure that “Displays have separate Spaces” is turned on.
In earlier versions of macOS, choose Apple menu > System Preferences, click Mission Control, then make sure that “Displays have separate Spaces” is selected.
How to exit Split View
Follow these steps to exit Split View
- Move the pointer to the top of the screen to reveal the window buttons.
- Click the full-screen button in either window. That window exits Split View.
- The other window switches to full-screen view. One can switch to the full-screen window with Mission Control, or use a Multi-Touch gesture such as swiping left or right with four fingers on the trackpad.
For all the latest Technology News Click Here
For the latest news and updates, follow us on Google News.